How to make vinegar

One of the easiest fermentation projects to try at home, making vinegar is a great way of using up wine or cider that has either been open a little too long or isn’t to your taste. That said, you can instead create something a little more special by using a particular style of wine, or by experimenting with beer, fruit juices and bottle ageing.
What is vinegar?
Put simply, vinegar is made by fermenting alcohol (ethanol) with acetic acid bacteria. The resulting (practically non-alcoholic) liquid contains acetic acid, which is what gives vinegar its sour taste. Because ethanol is required to make vinegar, we most commonly associate vinegar with wines and ciders, however fruit juice, grain and rice bases are all commonly used.
How is vinegar made?
If you start right at the beginning, sugar is turned into alcohol, which in turn is transformed into vinegar – not a complicated process, but it does take time. An example of this is to leave unpasteurized apple juice to ferment into cider, allowing the natural yeast to turn fruit sugars into alcohol, and then leave it even longer for the alcohol to ferment into acetic acid – vinegar. This can take anything up to a year.
The quicker approach is to start with an already-alcoholic base and add live vinegar cultures. Also known a ‘mother’, these are the solid particles visible in live (unpasteurized) vinegar. This method allows you to turn cider or wine into homemade vinegar in around a month. And by choosing a specific base to start the process, you have a more control over the finished flavour.

What alcohol should I use?
You can experiment with practically any wine, cider or beer, but the more characterful the ingredients going in, the bigger the flavour coming out. Some particularly hefty red wines are too overbearing when transformed into vinegar. Interesting, floral whites – such as Muscat or Riesling – and many dessert wines make particularly fantastic vinegars, with bags more complexity than a standard white wine vinegar from the supermarket.
Ideally the starting alcohol content should be somewhere between 4–10%; anything stronger should be watered down with filtered water.
Why don’t I see beer vinegar?
The answer is that you do, and you’ve probably had it on your chips. Malt vinegar is made by fermenting barley into a (fairly rough) beer, which is then turned into vinegar. This is a fairly crude ‘beer’ vinegar, and with the enormous variety of beers available, it’s definitely worth experimenting.
What about ageing vinegar?
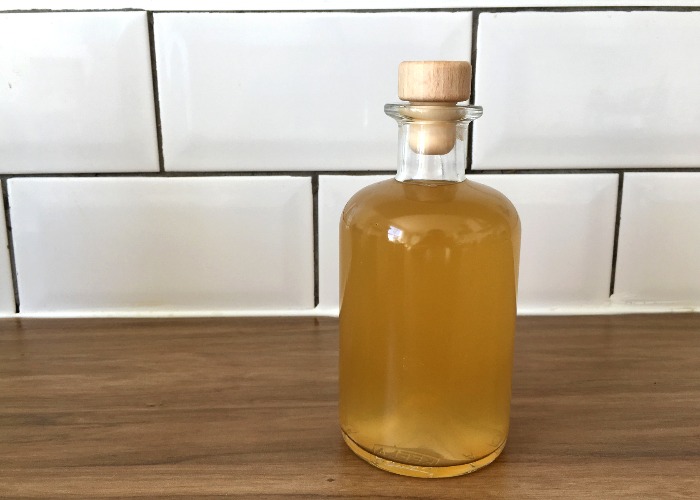
Although vinegar can be ready in four weeks, it continues improving when allowed to age further. Sharp edges become rounder, and it takes on a more complex set of flavours. Strain through a double-muslin layer to remove solids, pour into a sterilised jar or bottle and store in a cool, dark place – anything from 2–6 months is transformative.
To further experiment with ageing, you can age in a wooden barrel or, easier at home, in a large sterilised glass jar with a few ‘oak sticks’, little wooden barrel staves specially designed for this process.
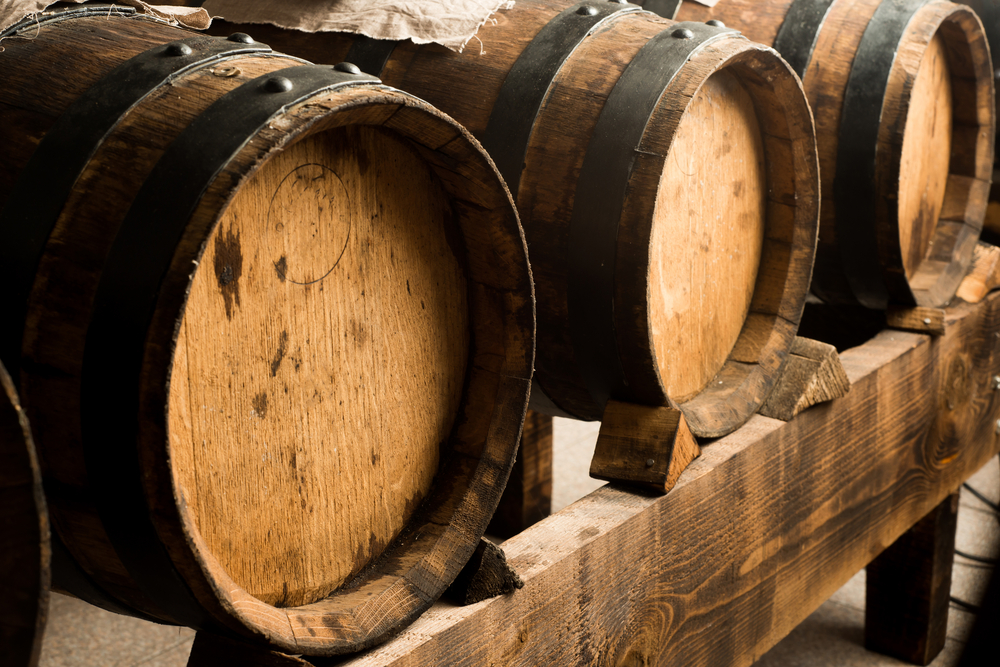 Balsamic vinegar ageing in barrels (Gua/Shutterstock)
What should I do with the solids strained from my vinegar?
The solids strained from your vinegar, which can be in smallish pieces or a disc covering the surface of your vinegar, are the starter or ‘mother’. You can put these solids – along with a little of your live, liquid vinegar – straight into a new alcohol to begin the vinegar-making process again.
Some people prefer to invest in an upright vinegar barrel with a spigot – a little tap at the bottom. Simply pour new alcohol in the top, which keeps the ‘mother’ fed, and draw off finished vinegar from the bottom.
How should I use homemade vinegar?
Homemade vinegar can be stronger than shop-bought, so you may want to water it down a little to taste. You may find that a flavourful homemade vinegar needs little else when it comes to dressing salads. With so much going on in the vinegar, mustard can be too much and all you'll need is a little oil and salt.
Really good vinegar – particularly something made from a dessert wine or Riesling – will not only make the most beautiful dressings, but can even be used in drinks. For a cooling summer drink, fill a tall glass with plenty of ice, add 15ml (0.5 fl oz) sugar syrup and 25ml (0.8 fl oz) of your chosen vinegar, top up with 100ml (3.4 fl oz) soda water and garnish with ribbons of cucumber.
A good dessert wine vinegar makes a great replacement to citrus in a G&T too – just a teaspoon or two is all you need.
Our homemade white wine vinegar recipe
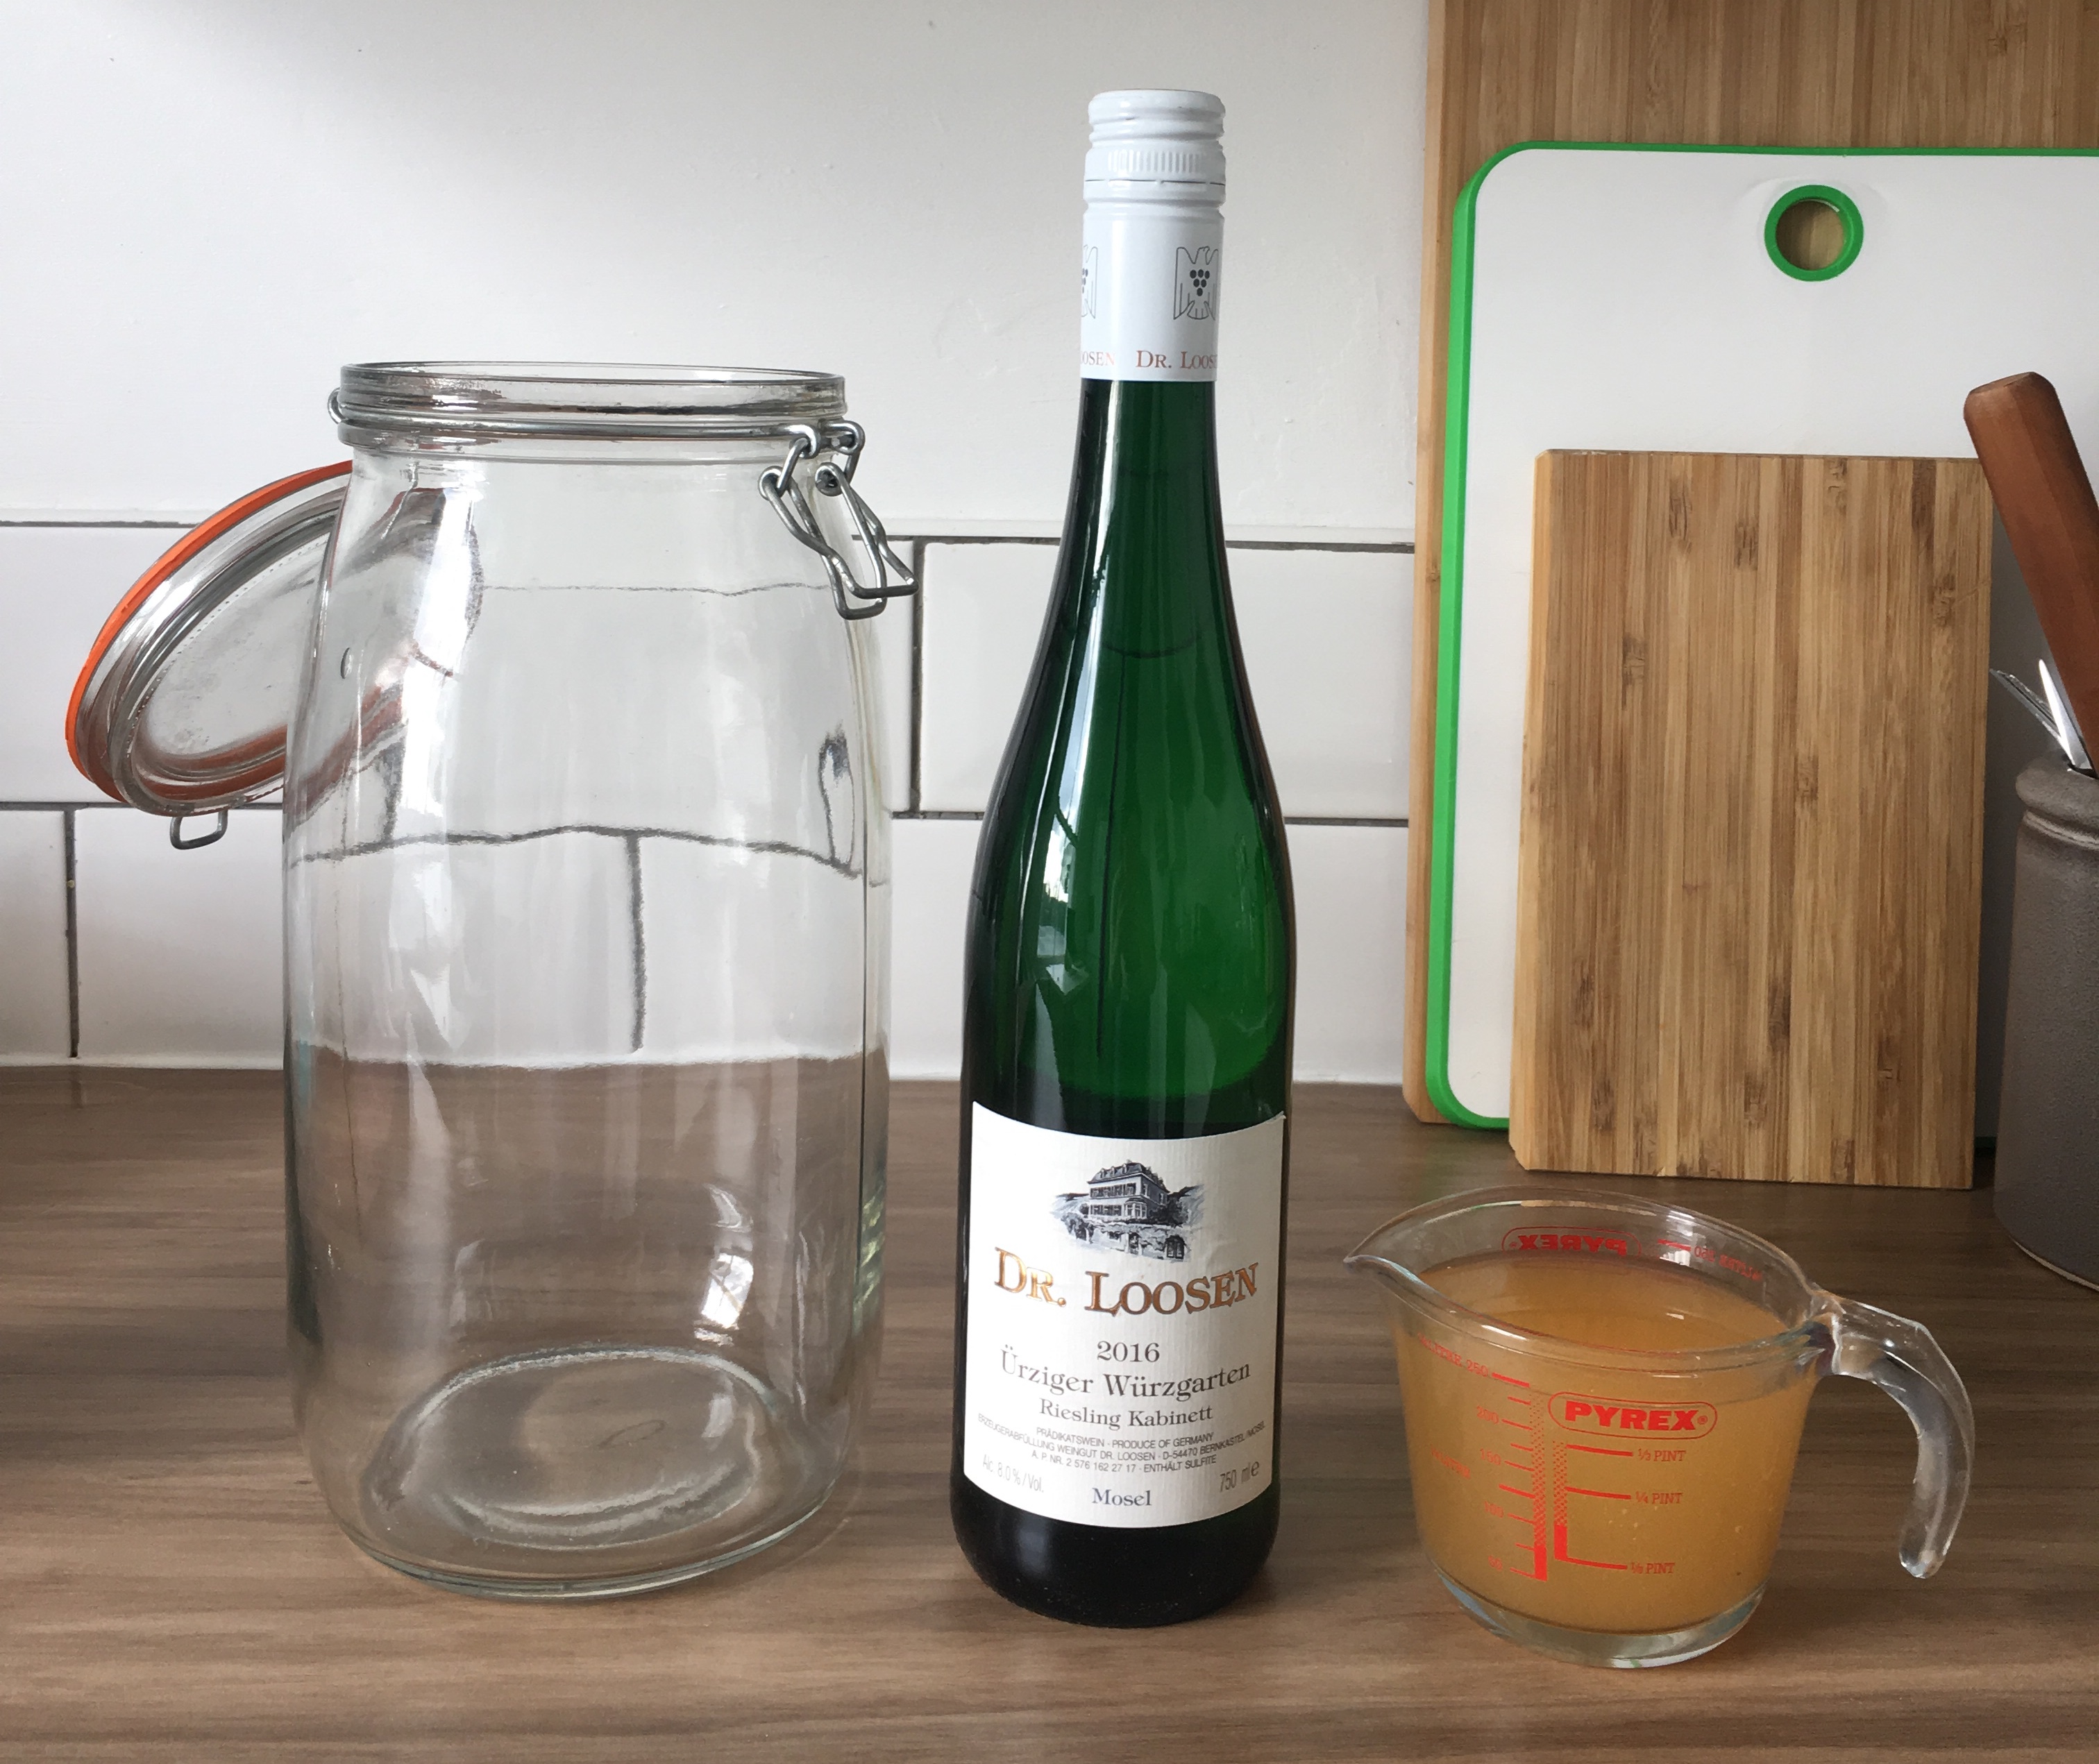
The recipe below assumes that you’ll start with a whole bottle of wine, however you can scale the quantities below up or down to work with what you’ve got, and this method will work for any type of wine, beer or cider.
Ingredients
- 750 ml good-quality, interesting white wine such as Riesling, Muscat, a big oaky Chardonnay or dessert wine
- 180 ml live white wine or apple cider vinegar (more if the wine needs to be diluted)
- 1 large, clean 2l (68 fl oz) jar
- 1 clean tea towel or piece of jay cloth
- 1 strong elastic band
- 26.4 fl oz good-quality, interesting white wine such as Riesling, Muscat, a big oaky Chardonnay or dessert wine
- 6.3 fl oz live white wine or apple cider vinegar (more if the wine needs to be diluted)
- 1 large, clean 2l (68 fl oz) jar
- 1 clean tea towel or piece of jay cloth
- 1 strong elastic band
- 3.2 cups good-quality, interesting white wine such as Riesling, Muscat, a big oaky Chardonnay or dessert wine
- 0.8 cup live white wine or apple cider vinegar (more if the wine needs to be diluted)
- 1 large, clean 2l (68 fl oz) jar
- 1 clean tea towel or piece of jay cloth
- 1 strong elastic band
Details
- Cuisine: British
- Recipe Type: Sauce
- Difficulty: Medium
- Preparation Time: 20 mins
- Cooking Time: 0 mins
- Serves: 10
Step-by-step
- Add the wine to the jar. If required, dilute the wine to 10% abv with water (see below for quick reference chart).
- Work out 25% of the new total by dividing it by 4, then add this quantity of the live vinegar.
- Do not add a lid. Instead, place the tea towel or cloth over the opening of the jar, and fix it in place with the elastic band.
- Place the jar in a dry, dark place, ideally somewhere not too cold – warmth helps move the fermentation along a bit.
- Taste it after 2 weeks to see how it is, then taste every week until it tastes strongly acidic.
- Strain through a double layer of muslin and pour into sterilised bottles. Place the bottles in a cool dark place to mature for a few weeks, and pop your live vinegar ‘mother’ into whatever alcohol you want to ferment next.
- When you come to use your vinegar, taste it and add a little water if you feel it necessary.
Diluting guidelines for a 750ml (25.4 fl oz) bottle of wine
15% abv – add 50% more water (375ml; 12.6 fl oz)
14% abv – add 40% more water (300ml; 10.14 fl oz)
13% abv – add 30% more water (225ml; 7.6 fl oz)
12% abv – add 20% more water (150ml; 5.07 fl oz)
11% abv – add 10% more water (75ml; 2.5 fl oz)
You might also like:
How to make your own chilli oil
All photos by Nicola Swift unless otherwise credited.
Comments
Be the first to comment
Do you want to comment on this article? You need to be signed in for this feature