A step-by-step guide to growing microgreens

Start the gardening year by growing gourmet veg for on a patch no bigger than your windowsill.
You don’t need a palatial plot or glorious garden to get growing. In fact, microgreens – the name for baby seedlings eaten at the shoot stage – can be grown in a margarine tub.
Easy to nurture (even through winter) without hours of sunlight or green-fingered diligence, they're flavourful, nutrient-packed and delicious.
With fewer of the pests and problems of mature plants, they're also among the easiest crops to get going. Here's how to grow microgreens at home.
Step one: kit up
The beauty of baby veg is that it also needs a tiny amount of equipment. A bag of peat-free compost, a windowsill with decent light and a growing vessel are all you need. A seed tray or flowerpot will do, or you could reuse the plastic fruit punnets from supermarkets, which come with handy pre-punched drainage holes.
Growing micro-veg is also a great way to use up seeds; it’s easy to forget that dried herbs such as coriander or fenugreek are actually seeds that have the ability to germinate tasty shoots. Experiment with seeds past their expiry date, or stop off at a health food shop to buy seeds in bulk.
If you don't have a lot of light, you may need to make a lightbox – a halved cardboard box lined with foil. This reflects more light onto the seedlings and prevents then becoming too spindly.
 Pixabay
Step two: select seeds
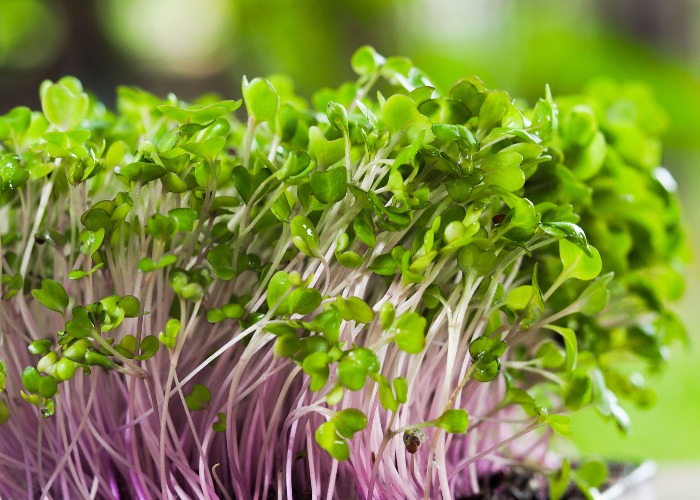
Microgreens are grown for their leaves and almost any herb or green can be grown in this way.
The most successful include plants such as coriander, beetroot, leek and broccoli. Radish produces a wonderfully spicy leaf at the baby stage, while sunflower greens provide nutty shoots for stir-fries.
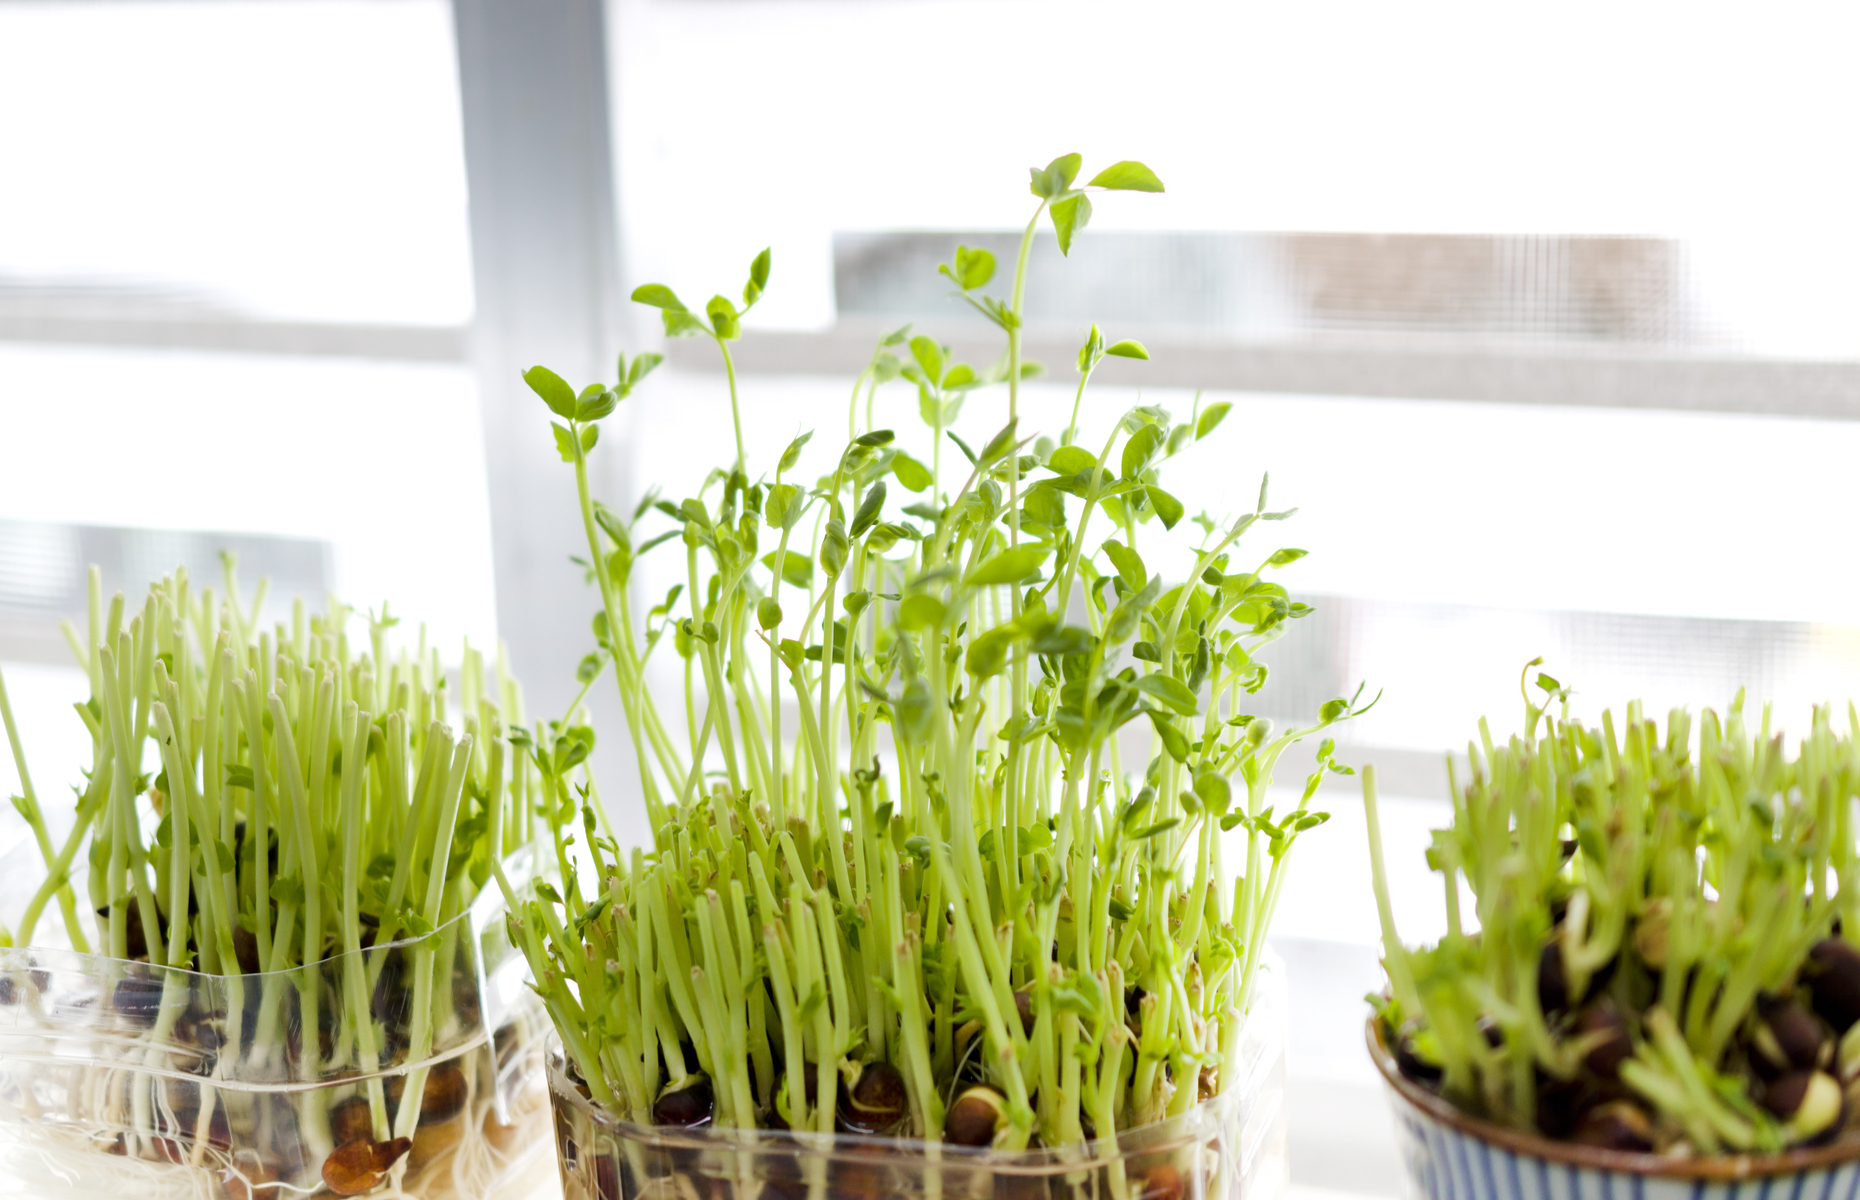
Pea or broad bean sprouts are intensely flavoured and full of vitamins, and can be harvested in three weeks. These are technically shoots rather than microgreens, however, due to the fact you snip after three leaves, rather than the first set.
Many plants, such as leek, can be used root and all. The only leaf that should be avoided is parsnip, as the leaves are toxic.
 kariphoto/Shutterstock
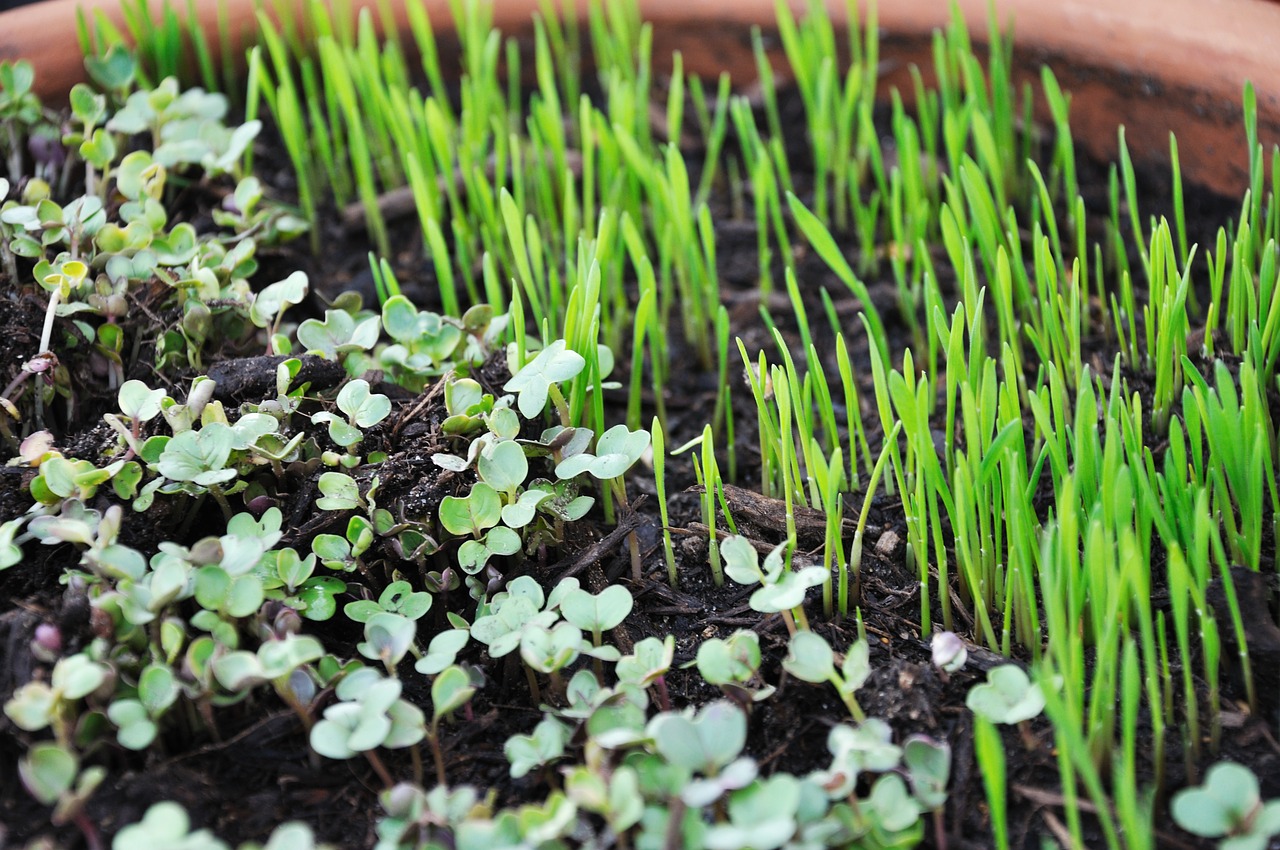
Step three: get growing
Bigger seeds such as peas benefit from soaking for 24 hours before sowing to speed up germination, while coriander seeds are more successful if crushed slightly. Most seeds, however, will be happy simply sown on top of moist compost.
You can sow microgreens more thickly than average seeds as you’re not growing these plants to adulthood. With bigger seeds, a good rule of thumb is to leave a seed’s distance between each seed.
Once sown, sprinkle a thin layer of compost on top of the seed, or even a piece of kitchen paper (when the seedlings appear you can remove the paper).
 Kayla Waldorff/Shutterstock
Next, pop your tray into a shallow container of water so it can soak up moisture. This is better than watering from above, as this can cause ‘damping off’ – when mould grows and the seedlings can rot.
Some seeds such as radish can sprout within a few days but others take up to 25 days. They are ready eat from the first 'true leaf' – this is the leaf above the seed leaf that looks like a mini version of the adult plant.
Peas, beans and sunflowers are the exceptions. With the latter, use the first shoots of these seedlings, as the second flush can taste bitter.
Microgreens tend to give more bang for their buck too – give the leaves a haircut and you’ll get a second flush. The key to success is to sow little and often so you have a continuous supply.
 Stepanek Photography/Shutterstock
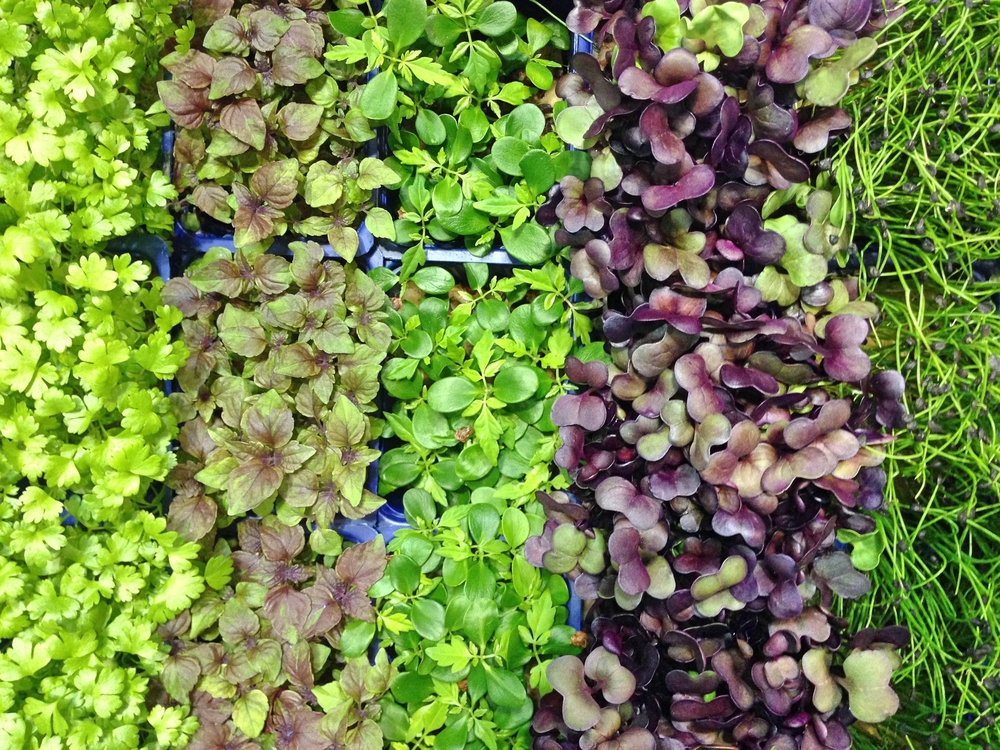
Step four: eat
Small but mighty, microgreens pack a punch even in small quantities and give bags of flavour to salads or when used as a garnish.
In fact, researchers at the University of Maryland found these super seedlings have 40 times more nutrient content than their mature counterparts. This includes six times more beta-carotene and vitamins K, E and C.
In cooking, pea and bean shoots bring a vitamin kick to stir-fries or steamed fish, and require very little cooking time. The red-tinged shoots of beetroot and radish add colour to soups and sandwiches, and strands of leek with their little black bonnet (the retained seed head) can be used whole in omelette and potato salads in place of chives.
If you have enough, the best way to appreciate your miniature home-grown delights is on their own drizzled with oil and a dusting of salt.
You might also like:
What is nutritional yeast and how do you use it?
Comments
Be the first to comment
Do you want to comment on this article? You need to be signed in for this feature