

Sourdough starter: how to make it, plus tips and tricks
Making sourdough starter may seem like a complex task that demands careful attention – but with our step-by-step guide to hand, you can easily make your own. Read on to discover our tips for perfect starter, every time.
How do I make sourdough starter?
Sourdough starters are the ‘yeast’ element of sourdough making; they act as a raising agent, and give sourdough bread its unique flavour and texture. This guide provides all the steps you'll need to make sourdough starter and keep it healthy.
 77Studio/Shutterstock
Time
Starters are all different. Some will be ready in just seven days, while some take more than four weeks. The most important thing is to keep going and allow the process to happen.
You will need
- Digital scales
- A container with a capacity of around 600ml (preferably a glass bowl or jar with a fitted lid)
- Good quality strong white bread flour or wholemeal flour
- Water
How to
This guide is a daily plan; you can complete the steps at any time of the day.
Please note: every day, after adding the water and flour, it's important to stir the mixture well, scraping down the sides of the container, and mixing it all in. Afterwards, loosely cover the bowl and leave it on the counter. On the days where you need to remove half of the contents, do so by eye. Never throw it down the sink; instead, collect the discarded starter in a bowl, and use it to make pancakes – or other treats, like these brownies with a tahini swirl.
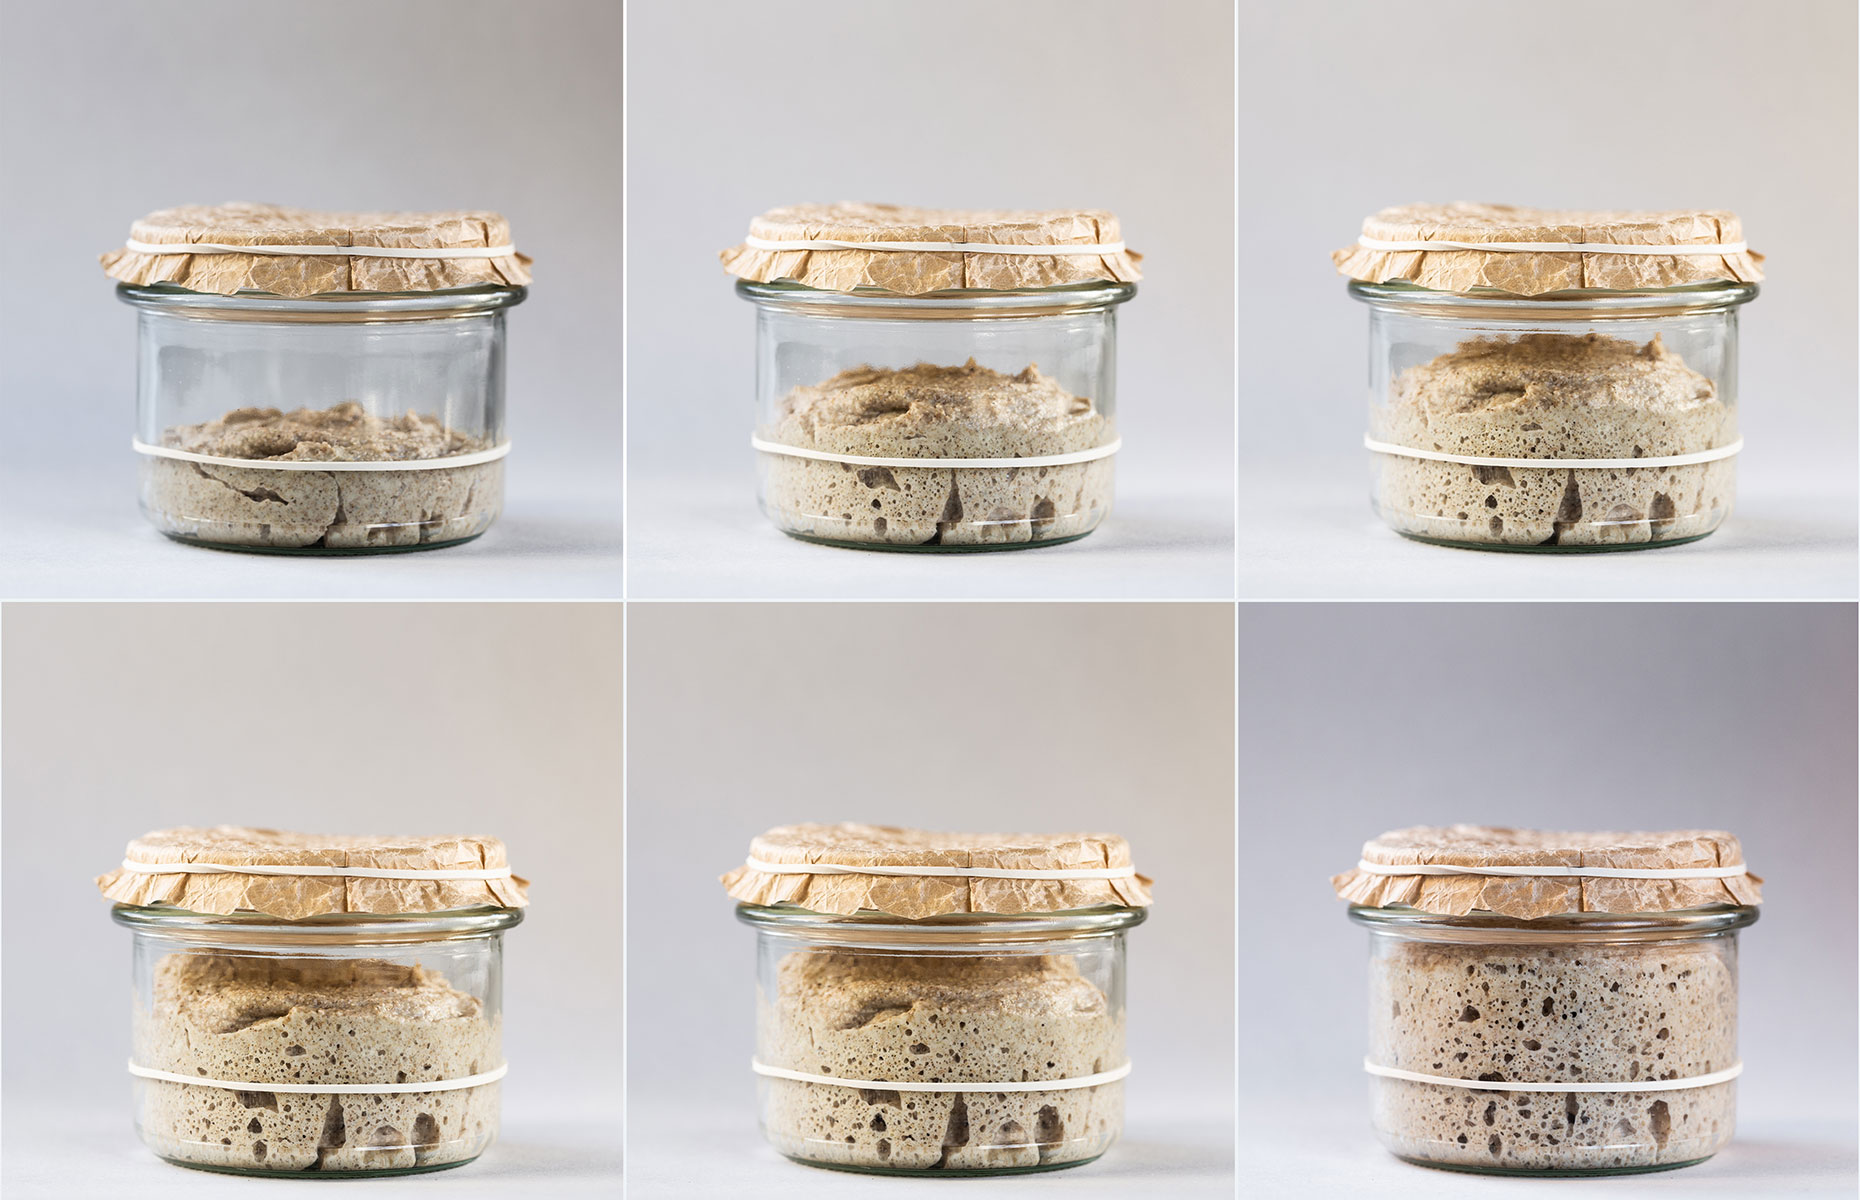
Day 1: Mix 50g of flour with 50ml of water. Stir the mixture well; it should be nice and thick (and even thicker, if you're using wholemeal flour). Loosely cover the container, keeping the lid slightly open, and leave it on the kitchen counter.
Day 2: Add 30g of flour and 30ml of water, stir and leave as above.
Day 3: Bubbles may start to appear in the mixture now – and it may be starting to smell eggy or cheesy (if you're using white flour), or wheaty and sour (if you're using wholemeal flour). Add 30g of flour and 30ml of water, stir and leave.
Day 4: Your starter may now be smelling vinegary, which is normal. Remove half of the contents of the container, then add 30g of flour and 30ml of water. Stir and leave.
Day 5: Your starter may now be looking less active and bubbly, but don’t be disheartened – it's all part of the process. Stick with it, and keep building the strength in your starter. Add 30g of flour and 30ml of water, stir and leave.
Day 6: Remove half of the contents of the bowl. Add 30g of flour and 30ml of water, stir and leave.
Day 7: You should now see bubbles all the way through the mixture, and the starter should respond and grow after each feed. White flour starters can look really exciting at this point – all bubbly, and even volcanic. Wholemeal flour starters will be more textured, with an undulating surface. Add 30g of flour and 30ml of water, stir and leave.
 Zagorulko Inka/Shutterstock
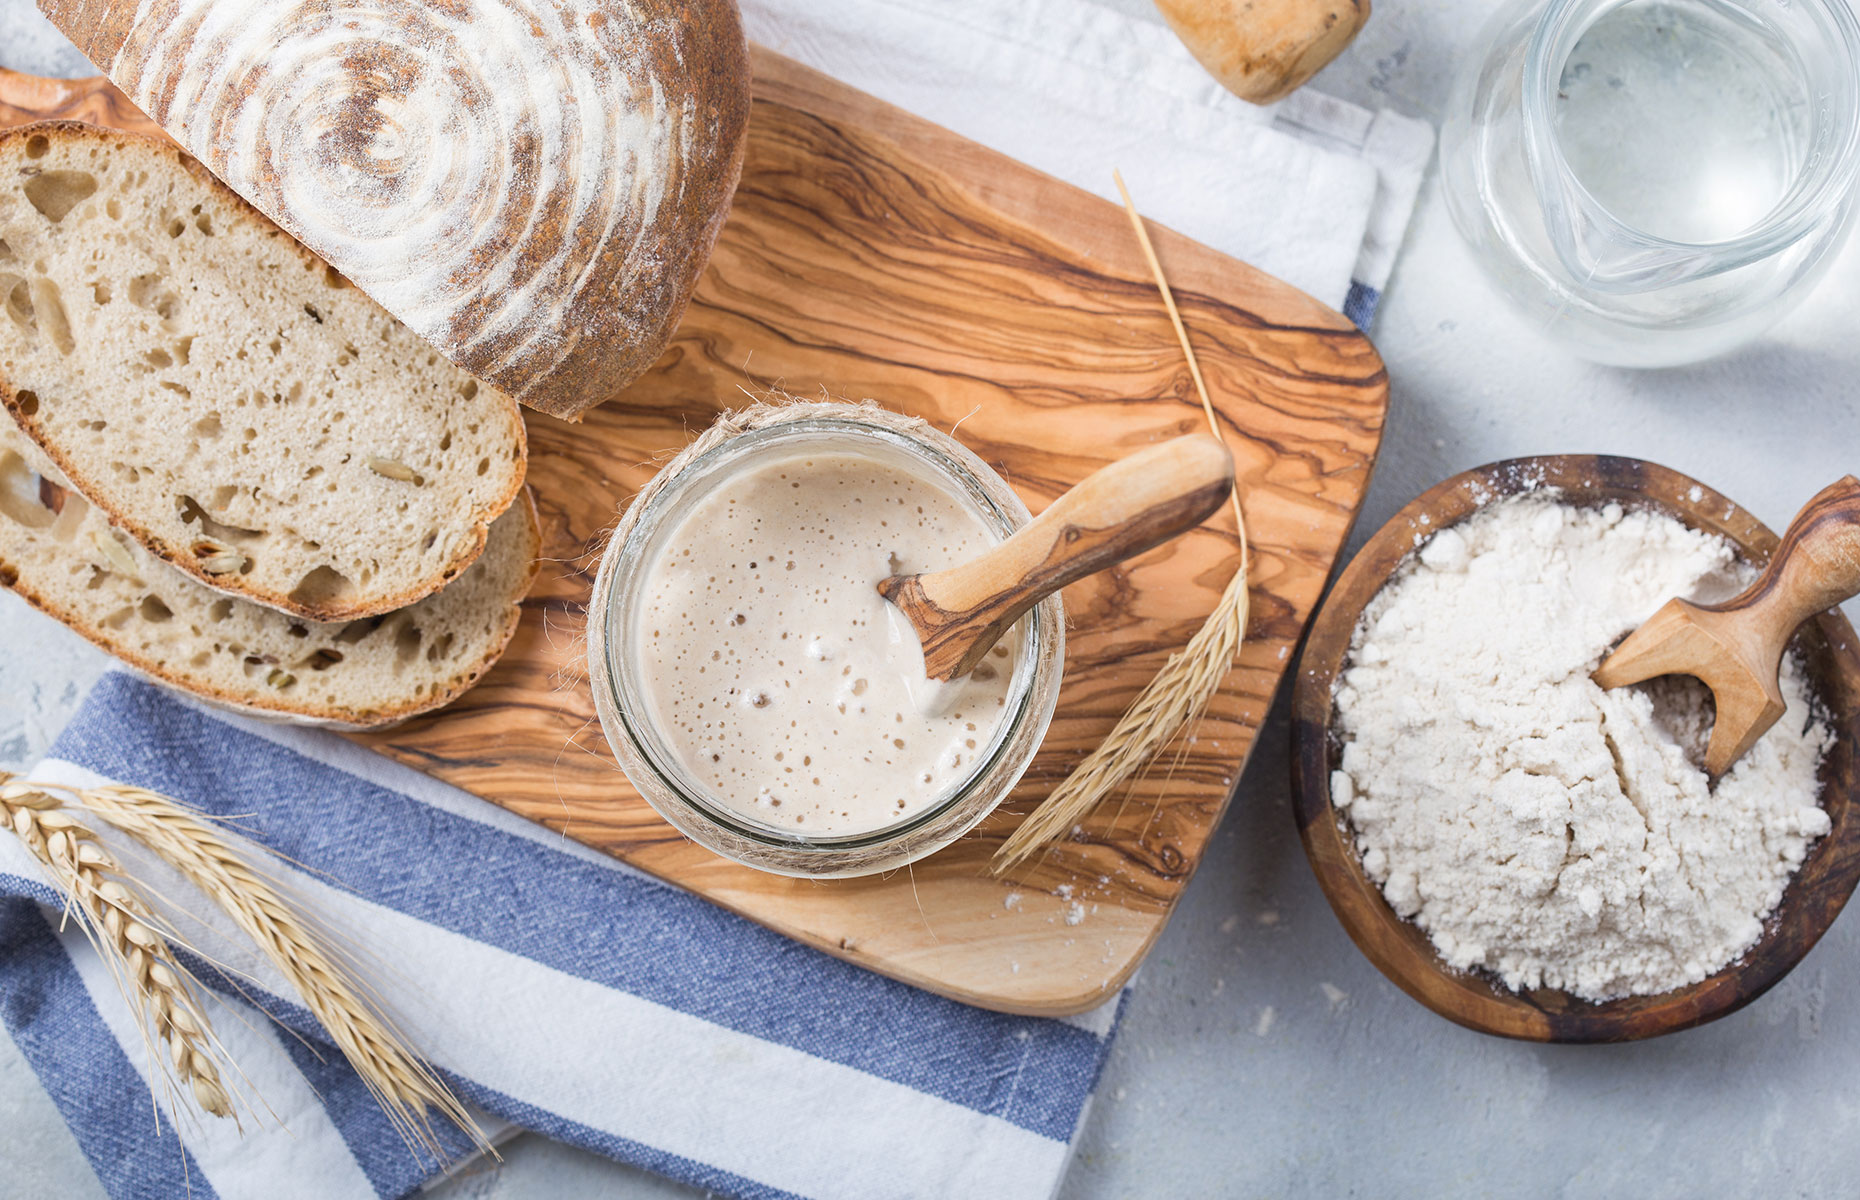
READ MORE: The ultimate easy sourdough bread recipe
Is my starter ready to use?
Your starter will be ready to use as soon as it grows routinely, and becomes active several hours after being fed. If you're not sure whether it's ready by day seven, repeat the process from day four onwards, until the starter begins to grow at a regular pace.
 Zagorulko Inka/Shutterstock
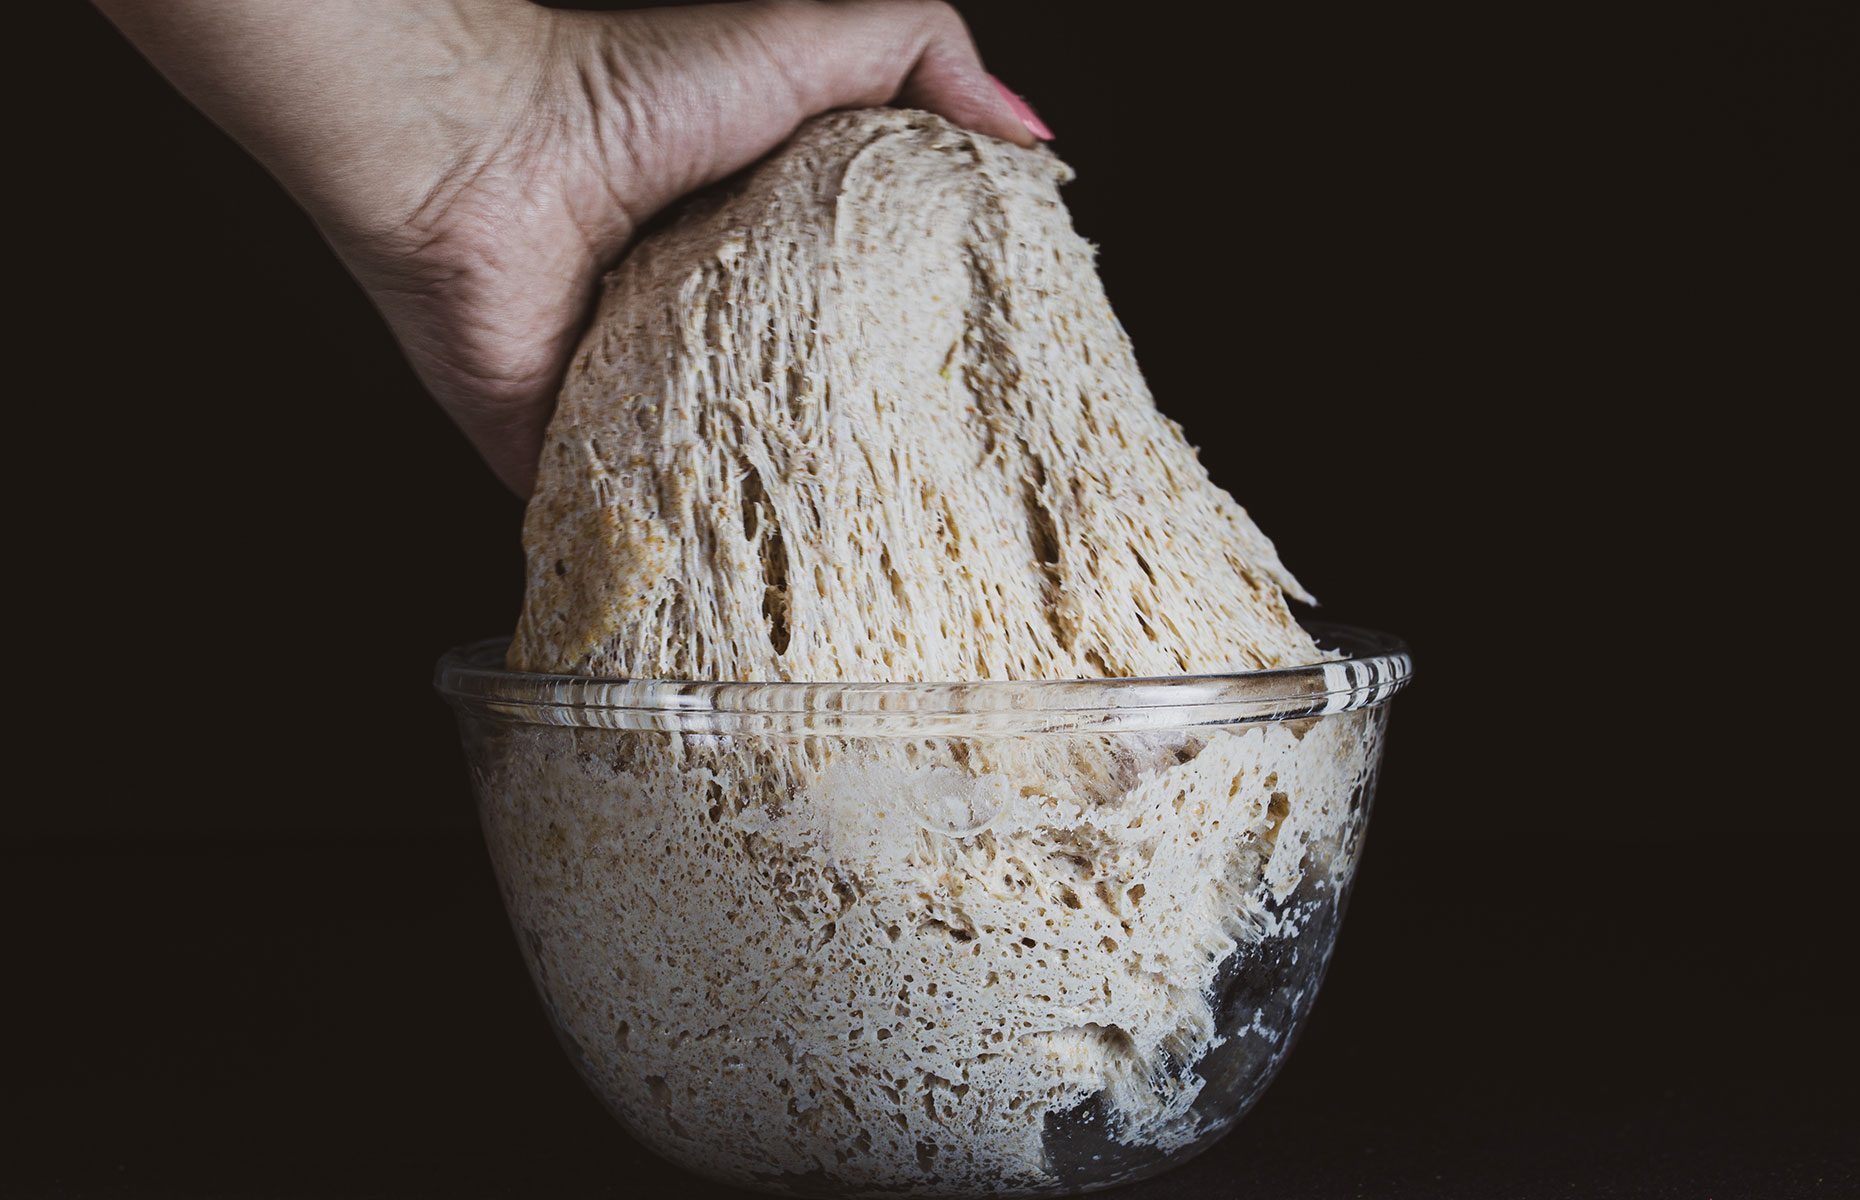
What you’re looking for is a starter that grows and responds to being fed. This indicates that it will be able to lift your dough, so your bread has a nice rise to it.
Once your starter's ready, keep the lid firmly shut and store it in the fridge until you're ready to use it. From this point on, you'll no longer need to keep discarding and feeding the starter.
How to use your starter
Add 30g flour and 30ml water to your starter and stir it well; it should have a thick, batter-like consistency. Stir until there's no dry flour visible, then replace the lid firmly and leave at room temperature to respond and become active.
Once your starter has doubled in size, remove the quantity you need for your dough, then replace the lid and return your starter to the fridge or a cool, dark place until next time.
READ MORE: 9 tips for creating the perfect loaf
Sourdough starter top tips
The most important thing to know about sourdough starters is that they're extremely resilient and very hard to kill – meaning they require very little attention.
 Sokor Space/Shutterstock
They don’t need endless feeding, taking on holiday, or fretting over. They can last for years and provide hundreds of loaves of bread from one small base amount. These tips will help you to keep your starter healthy and strong.
- Only ever feed your starter when you want to use it; it doesn’t usually need feeding at any other time.
- In between bakes, keep your starter in a firmly closed container in the fridge.
- A dark, murky layer of water on top of your starter means it’s hungry, not ruined. Stir and feed it as usual.
- The flour you use to make sourdough and feed your starter with will make a huge difference to the outcome of your baking. Use the best quality strong flour in your starter.
- A happy and healthy starter is key. To achieve this, keep a maximum of 100g as your base amount, and always feed all of it; don’t portion out parts to feed, or worry about ratios.
- Heat is the biggest hurdle when making sourdough; don’t let your starter get too warm for too long. Focus on keeping your starter at a nice Scotch pancake batter consistency. A thin starter is a weak starter.
- If your starter gets thin, give it extra flour to thicken it up again. Do this as often as you need to. Starters get stronger with age – and the more you use them, the better they get!
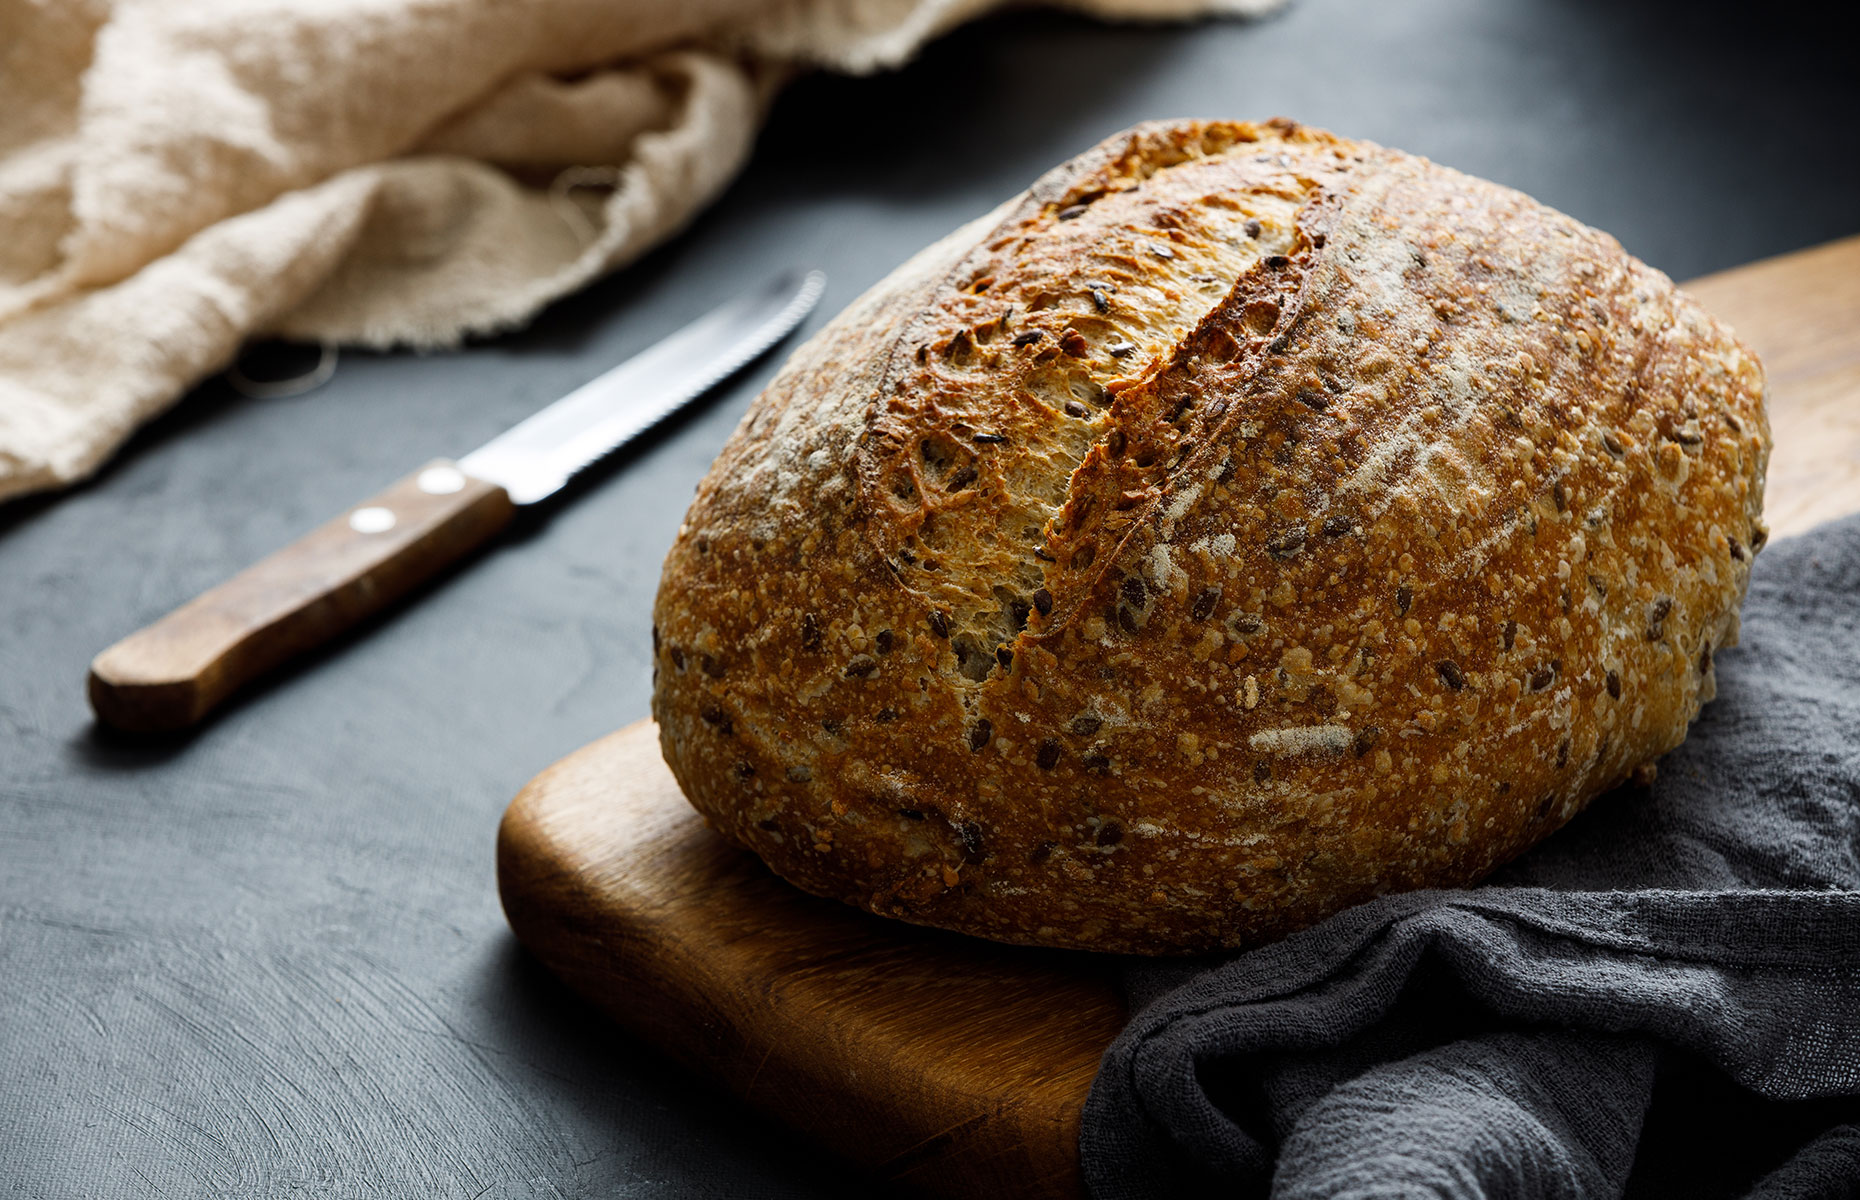
Main image: Julia Sedaeva/Shutterstock
Comments
Be the first to comment
Do you want to comment on this article? You need to be signed in for this feature