9 tips for perfect sourdough


If you began making sourdough during lockdown and are wondering how it fits in with life as restrictions lift, this article is for you.
Over lockdown, when lots of people had suddenly been restricted to being at home and decided to give sourdough making a go, timing was not an issue. But now we’re returning to a new ‘normal’ it may seem like it will be difficult to continue with the process. I’m here to tell you that you do not need to stop – your starter can live on and you can easily continue to enjoy homemade, healthy, tasty loaves.
Sourdough is far more forgiving and manageable than many people think and it can be managed to fit in with your life, whatever that looks like. The following tips can be used independently or together to make sourdough work for you.
1. Change your timetable
There are key elements of making sourdough: the first mix, working the dough to build up the gluten and structure, leaving it to prove, shaping it for a banneton, then proving again before baking.
As long as these elements are all allowed for, the timetable can be shifted around so that the start time and baking time work for you. The main part that needs to be allowed for is the main proving. I typically do this overnight, but it can also be done during the day. As long as the dough gets sufficient time to double in size and maintains its structure, it is perfectly proved.
2. Batch cooking for ease
Batch-baking is a great way to remain stocked with sourdough. Feed your starter a multiple of its usual quantities to produce as many doughs as you want. For example, if I want to make three loaves, I feed my starter three times the usual amount. Then I make up my three doughs in three separate bowls, otherwise I would need a huge bowl for all that dough!
READ MORE: 30 brilliant tips for homemade bread
 Mirjam Kavcic/Shutterstock
3. Sourdough freezes perfectly
I always have stocks of sourdough loaves and rolls in my freezer. To freeze, ensure that the loaf or rolls are fully cooled, than wrap them and freeze them.
To defrost, place your loaf, uncovered, on a wire rack until defrosted. They defrost as perfectly crusty as they bake.
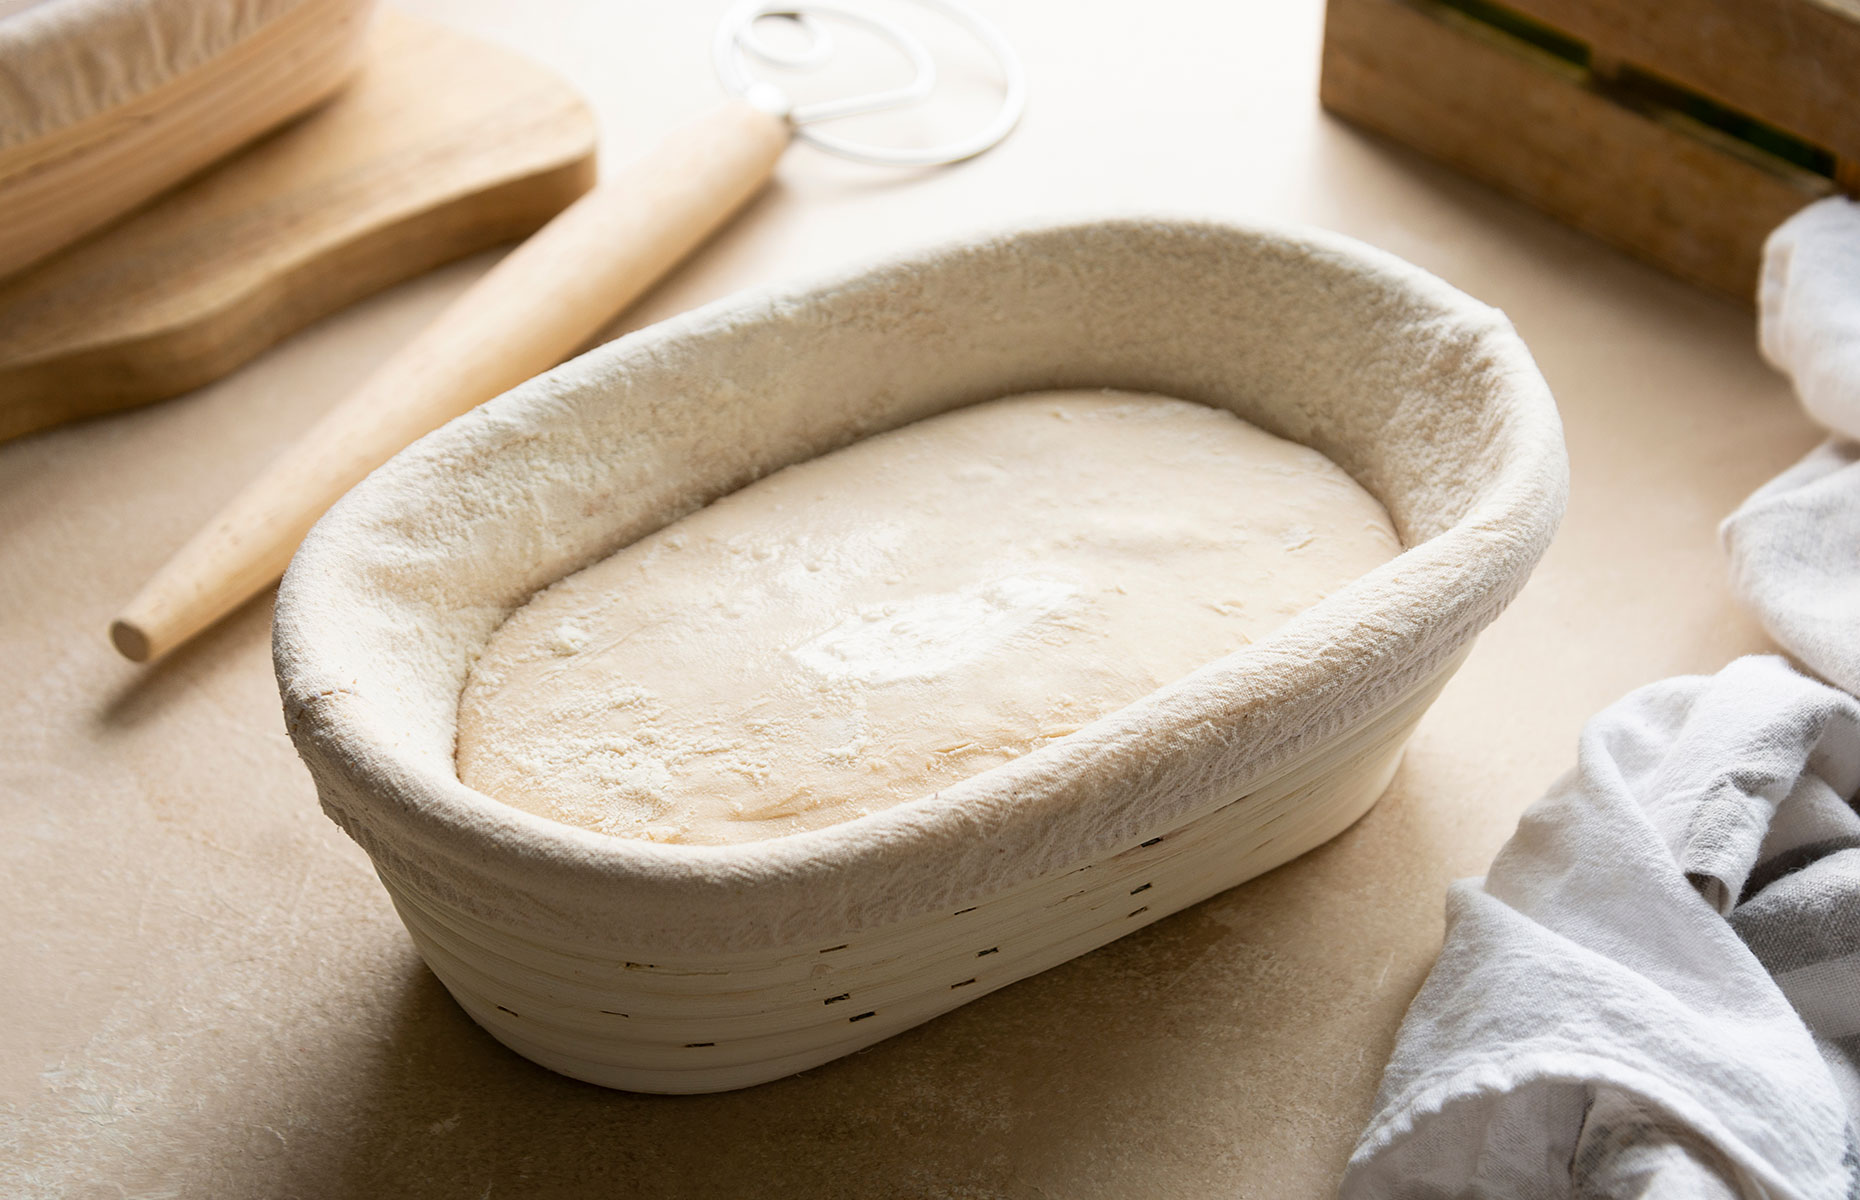
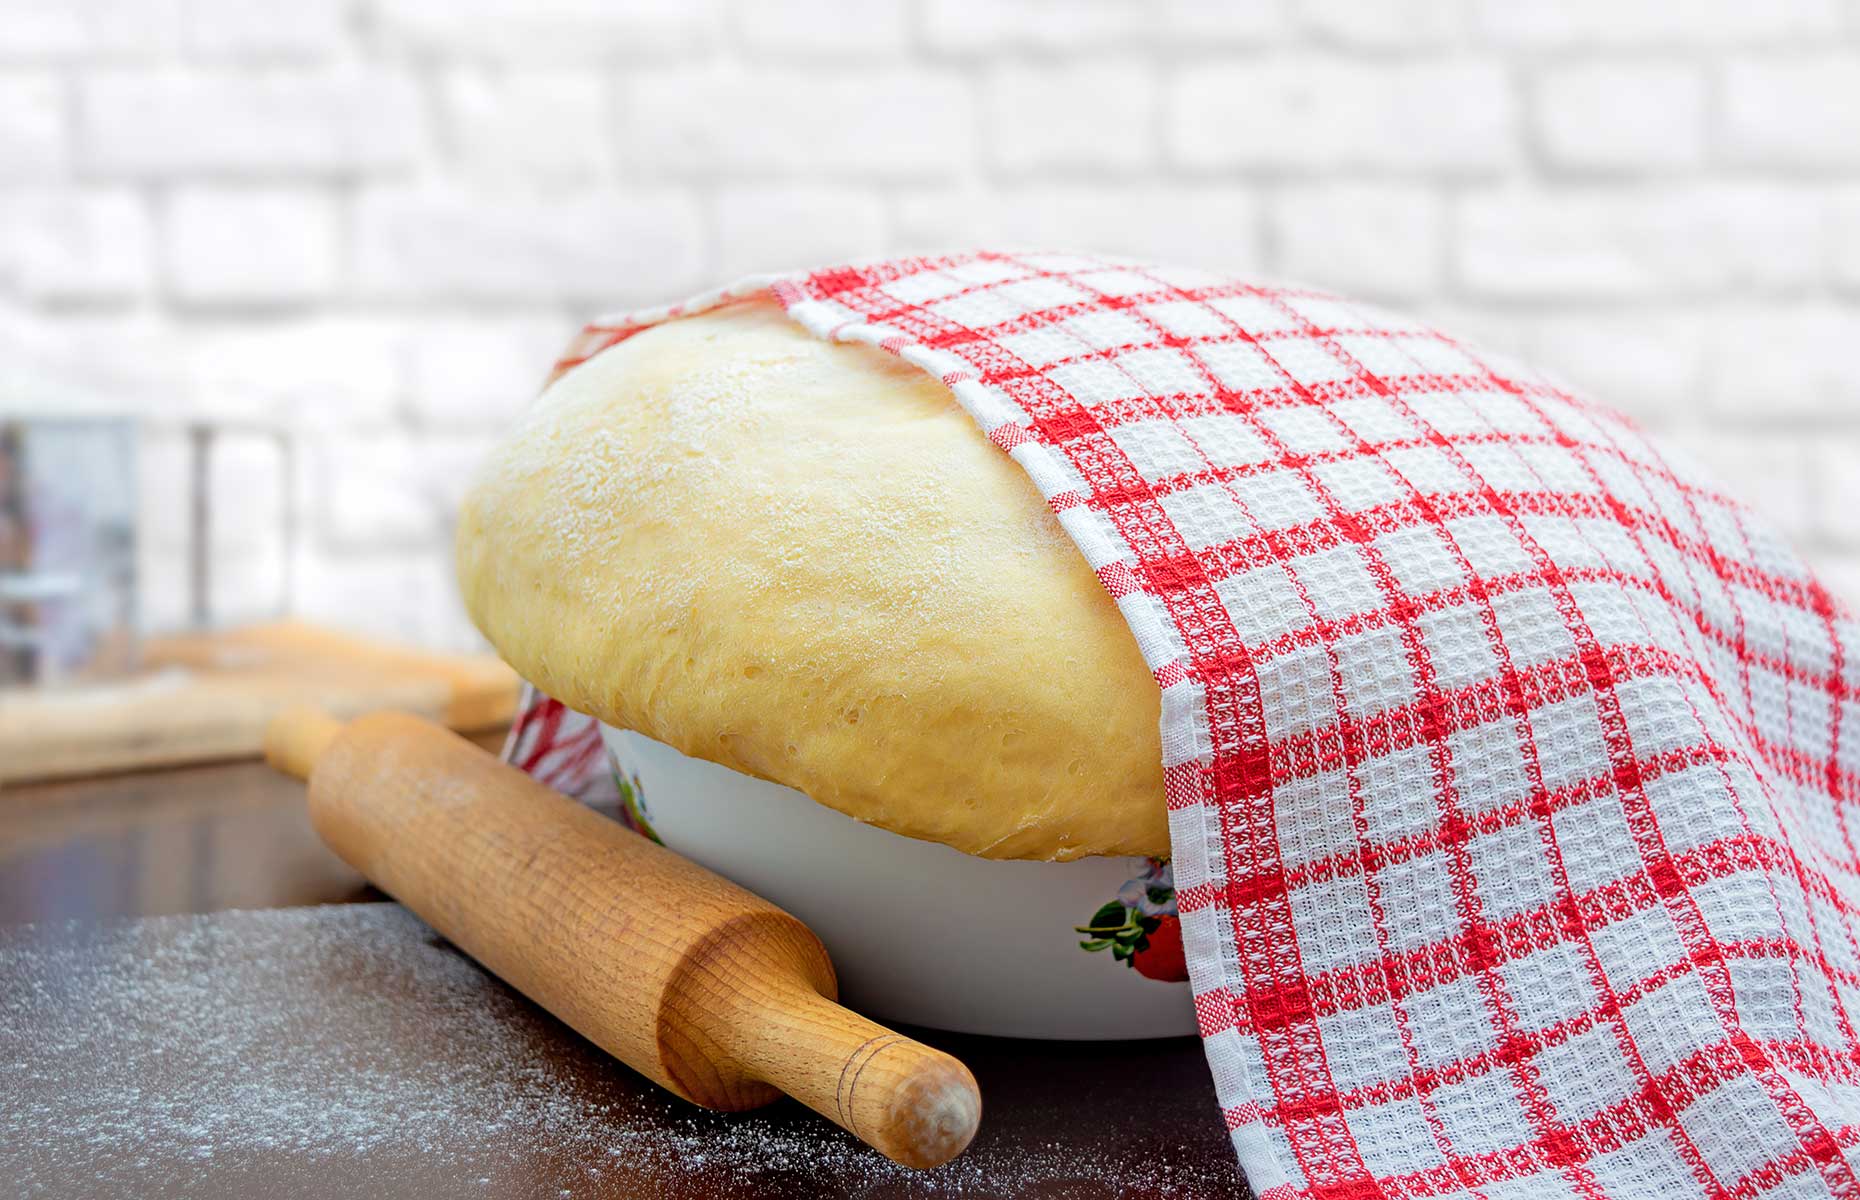
4. Use your fridge wisely
Once your well-proved dough has been moved to a banneton and placed into the fridge to prove again, it can remain in the fridge for well up to 24 hours. So you can make the dough pretty far in advance and be ready to bake when it fits in with you.
READ MORE: Top tips to organise your fridge
 Erhan Inga/Shutterstock
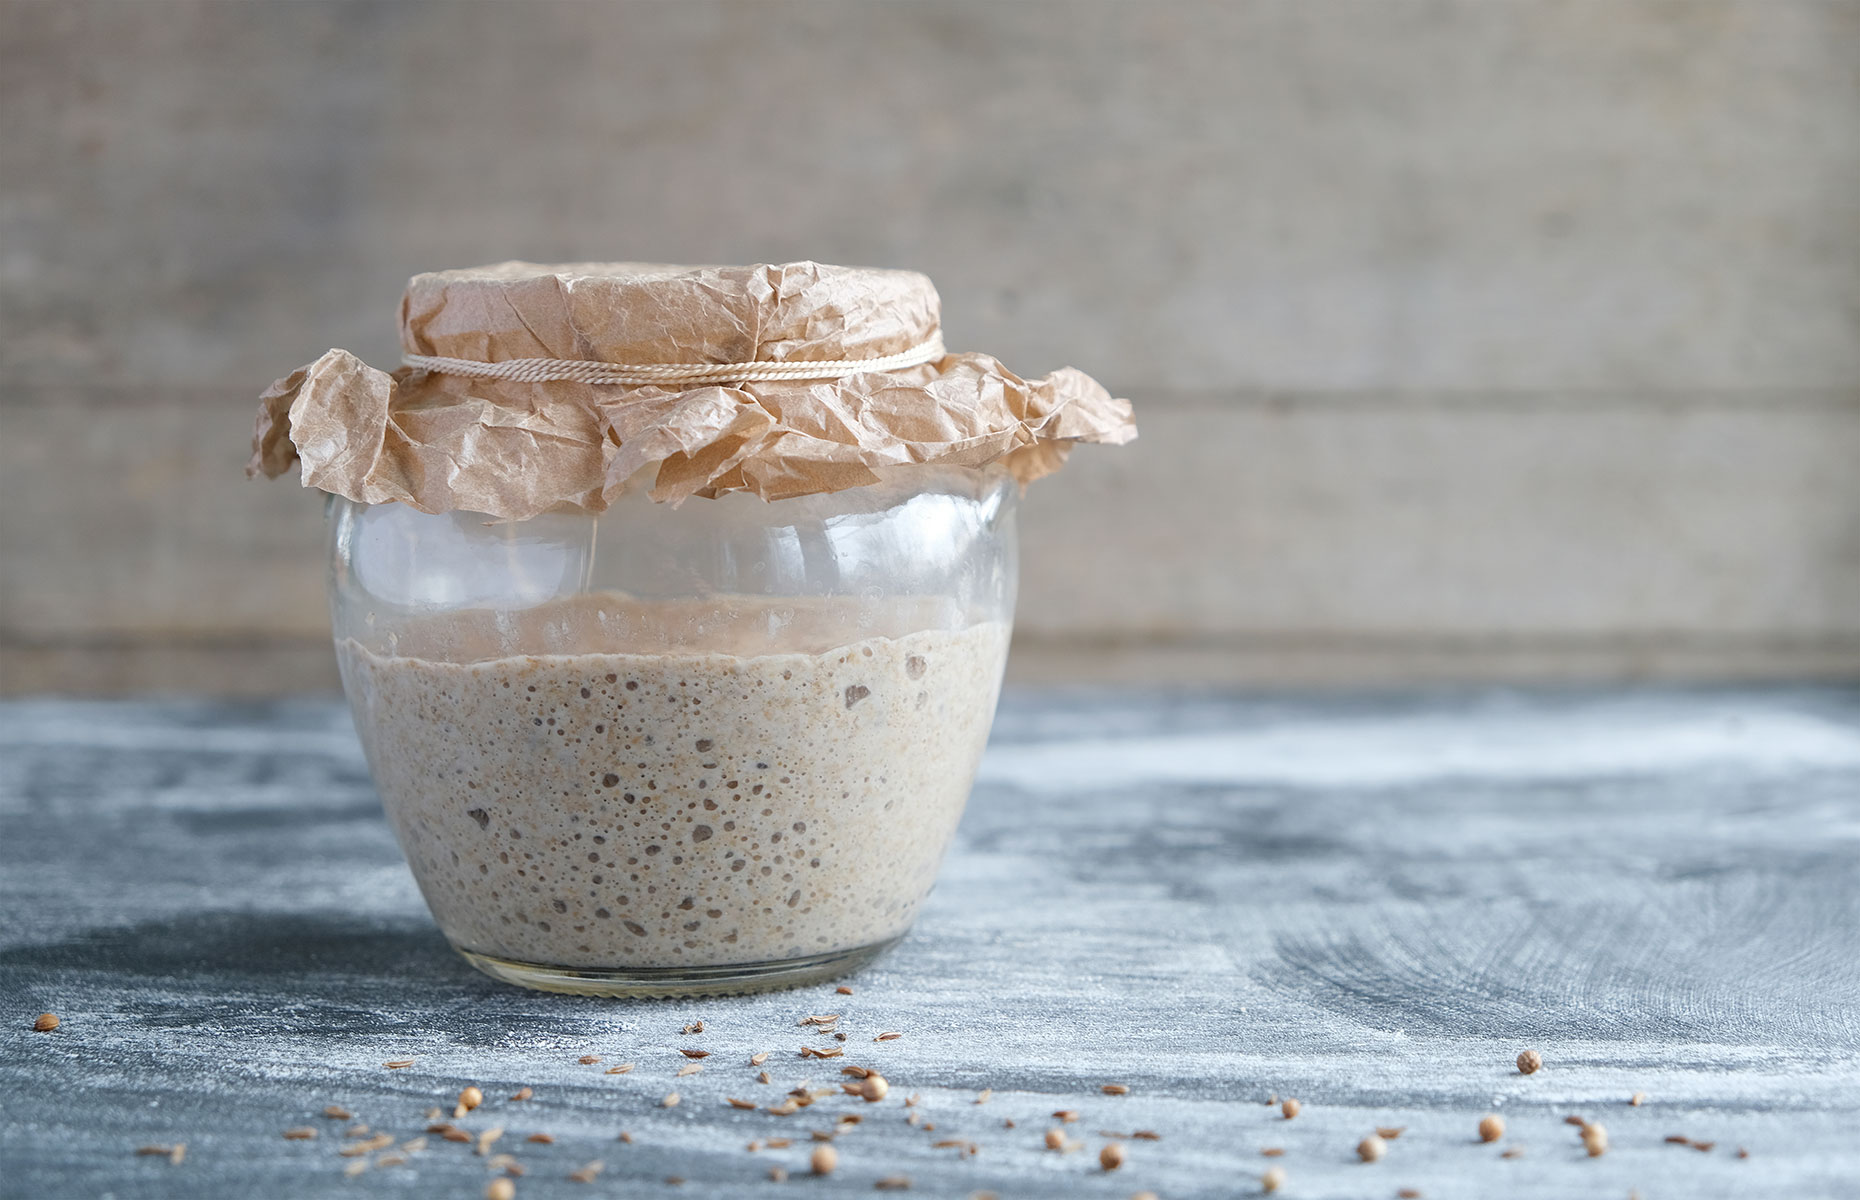
5. Don’t ditch your starter
Starters do not need constant attention or use, and are far more resilient than people think. They don’t need to be fed daily, or used weekly, or even monthly. A happy, established starter can sleep in the fridge, with its lid firmly on, and it does not need to be fed unless you are going to use to it.
When you do come to use it, feed it as you always have. If it seems a little slow after a long sleep, it may require two to three feeds to wake up, but be reassured that it will.
6. What is a hungry starter?
Starters that have not been used for a while continue to ferment, even in the fridge, which means that they continue to work through the flour in the mix and can sometimes produce a layer of murky water on the surface as a result – this is normal.
READ MORE: 50 best baking recipes everyone will love
When you come to use it, you can either stir the liquid into the mix (it adds flavour), or pour it away then feed it as usual. The only time a starter should be thrown away is if it is mouldy – it’s the only time it cannot be revived.
 Trofimov Denis/Shutterstock
7. Making sourdough on warmer days
Heat can be great for proving sourdough, but only up to a point. Once room temperatures in the kitchen start to rise up and over 20°C (68°F) at night, our beautiful overnight dough risks over-proving. There are simple steps to take to protect it.
The simplest solution is to use your standard recipe quantities exactly as they are, just with less starter. For example, in my master recipe, I use 50g (1.7oz) of starter as a standard. When the temperatures rise, I use just 20g (0.7oz) of starter, which pretty much equates to a tablespoon. You do not need to change anything else about the recipe.
By using less starter, you effectively give the dough less power and slows the growth of the dough down. You’ll still be able to prove your dough on the counter overnight as the room temperature rises.
READ MORE: Our best-ever food hacks
A thermometer in your kitchen will help you plan for when you need to do this and for me, is an essential piece of sourdough-making equipment. Knowing the room temperature and watching how your dough behaves as a result will dramatically enhance your sourdough making.
8. How to tell if your dough has over-proved
You’ll know if your dough has over-proved if it fills your bowl, maybe even trying to escape the bowl; is very slack and fluid, possibly very bubbly; and most key, impossible to handle and smells strongly. This dough will no longer have any structure and will not be able to hold its shape. It will bake to a flat, dense, but tasty loaf.
 Iaroshenko Maryna/Shutterstock
9. How to use over-proved dough
The best thing to do with over-proved dough is use it to make focaccia or flatbreads, something that does not require structure, but that will taste great. Or scrape it into a loaf tin, allow it to prove again until it reaches level with the top of the tin, and bake it as a sandwich loaf.
Over-proved dough often tastes wonderful due to the extra proving – it will be a very sour bread.
Lead image: 77 Studio/Shutterstock
Comments
Be the first to comment
Do you want to comment on this article? You need to be signed in for this feature