Easy sourdough bread recipe

This simple method makes great-tasting loaf of bread with no fuss. The time given is hands-on time but you'll need to allow more to make the bread as it needs to rise and prove.
Find the recipe for sourdough starter here
Before you bake:
- Make sure that your starter is bubbly and full of life.
- Make a rough plan for your day. You won’t actually spend too long working with this loaf, but you do have to check in with it a few times, so you can’t stray too far from the kitchen for a few hours. That said, don’t worry if you do run late with a knead or a fold, sourdough is forgiving, and the rise takes at least three hours and usually more, during which you don’t have to do anything.
Ingredients
- 200 g sourdough starter (find recipe above)
- 300 ml water, at room temperature or a little warmer
- 500 g strong white bread flour plus extra for dusting
- 10 g fine salt
- 1 glug of vegetable or sunflower oil
- 1 handful rice flour for dusting (optional)
- 7.1 oz sourdough starter (find recipe above)
- 10.6 fl oz water, at room temperature or a little warmer
- 17.6 oz strong white bread flour plus extra for dusting
- 0.4 oz fine salt
- 1 glug of vegetable or sunflower oil
- 1 handful rice flour for dusting (optional)
- 7.1 oz sourdough starter (find recipe above)
- 1.3 cups water, at room temperature or a little warmer
- 17.6 oz strong white bread flour plus extra for dusting
- 0.4 oz fine salt
- 1 glug of vegetable or sunflower oil
- 1 handful rice flour for dusting (optional)
Details
- Cuisine: British
- Recipe Type: Bread
- Difficulty: Medium
- Preparation Time: 60 mins
- Cooking Time: 50 mins
- Serves: 10
Step-by-step
- Weigh out the starter and slop it into a large mixing bowl. Add the water and stir with a fork or a whisk until the starter has broken up and dissolved into the water. In another bowl, mix the flour and salt.
- Add the flour mixture to the water and starter. Using your hands (or a wooden spoon, if you prefer), mix all the ingredients together to make a sticky mass. Scrape any loose dough off the sides of the bowl. Cover the bowl with a clean tea towel and leave it for 30 minutes. In the meantime, clean the bowl that you mixed the flour in, and lightly oil it.
- Wet your fingers with clean water so the dough doesn’t stick to them, then reach your hand down the back of the ball of wet dough, unsticking it from the bowl. Pull a corner of dough up from the bottom of the ball, and stretch it up. Then fold it down into the centre of the ball. Aim to trap some air bubbles under the dough as you fold it in.
- Rotate the bowl clockwise about 45 degrees and stretch up another corner, and fold it in in the same way. You should feel the texture of the dough change: it will become smoother, less sticky and more elastic. Repeat the process until you have shaped the whole ball and it is sitting in the middle of the bowl, not touching the sides.
- Gently work your hand under the ball of dough and lift it carefully out of the bowl. Gently place the ball into the oiled bowl. Cover the bowl with a tea towel and let the dough rest for 10 minutes.
- Meanwhile, scrape any loose dough off the inside of the other bowl, wash and thoroughly dry it. Take a clean tea towel and dust it liberally with flour (rice flour is best) so that the dough won’t stick to it. Line the bowl with the tea towel, with the floured side facing inwards.
- Once 10 minutes is up, shape the dough in its oiled bowl, using the same action and rotation as you did in step 4. It should be less sticky and a bit easier to manage this time. Try to make the stretches and folds as symmetrical as you can – they will influence the shape and the texture of the baked loaf. Let the dough rest for 10 minutes. Repeat so that you’ve worked the dough three times. It should have taken you about an hour to get to this point, but don’t worry if you’re running a few minutes fast or slow.
- Gently work your hand under the ball of dough and lift it out of the oiled bowl. Place it in the bowl lined with the floured tea towel. If you have a smartphone, take a picture of it so you have a record of the size of the ball. Then cover the bowl with another tea towel and put it in a warm place. Relax. This is when you stop working and the yeast takes over.
- Leave the ball of rising dough for at least 2 hours and probably more, depending on how warm the environment is. It will, very slowly, start to expand. If you took a photo of the ball, use it as a reference to judge how much the dough is expanding; when it is about one-and-a-half times its original size, give the side of the ball a gentle poke. Your fingertip will leave a little dent in the dough. If it feels firm, and the dough bounces back immediately, so that no depression is visible, your dough isn’t ready yet. Come back in 30 minutes and try again. If the dough springs back part of the way, but a small dent is still apparent about 5 seconds after your touch, it’s time to heat up your oven and continue to the next stage. If the dough doesn’t spring back at all and feels a bit soggy, carry on and bake the loaf, before it’s too late!
- Preheat the oven to 220°C/428°F/200°C fan/gas mark 7. Put your baking stone or baking tray on the oven’s middle shelf to heat up. The oven needs to be steamy, so put about 250ml/8.4fl oz of boiling water into an ovenproof dish and place it on the oven floor.
- When the oven has heated, have ready a pair of scissors, an oven glove and the bag of flour. Pull the hot baking stone or tray out (beware of a cloud of hot steam when you open the oven door) and shut the oven to keep the heat in. Gently tip the loaf out of its bowl and on to the hot baking surface. It should feel very soft, like a cushion, and have a delicate, smooth skin. Dust it lightly with flour. Then, using the scissors, snip four cuts about 2cm/1inch deep into the top, forming a square. Place the baking tray back in the hot oven and set the timer for 10 minutes.
- When the timer goes off, open the oven and have a quick look. Your loaf should have risen dramatically, parted at the vents on top, and taken on an orange colour. If the back edge of the loaf is darker than the front, turn it through 180 degrees to even things out. Check that there is still water in the ovenproof dish and top it up if not. This whole process should take about 10 seconds. Close the oven door, reduce the temperature to 180°C/356°F/160°C fan)gas mark 4 and set the timer for 40 minutes.
- When the timer goes off this time, take the loaf out of the oven. It should be crusty, with rich brown and grey tones. Lift it with the oven glove and look at the bottom: if the underside is evenly baked to a brown crust, tap it firmly. If it sounds hollow, the bread is baked. If it doesn’t sound hollow, or the crust hasn’t yet formed on the bottom, return in to the oven for another 10 minutes, then test again.
- When the loaf is done, place it on a wire rack to cool and don’t eat it immediately. This can be a hard instruction to obey, but the bread is still developing as it cools and won’t reach its best for an hour or so.
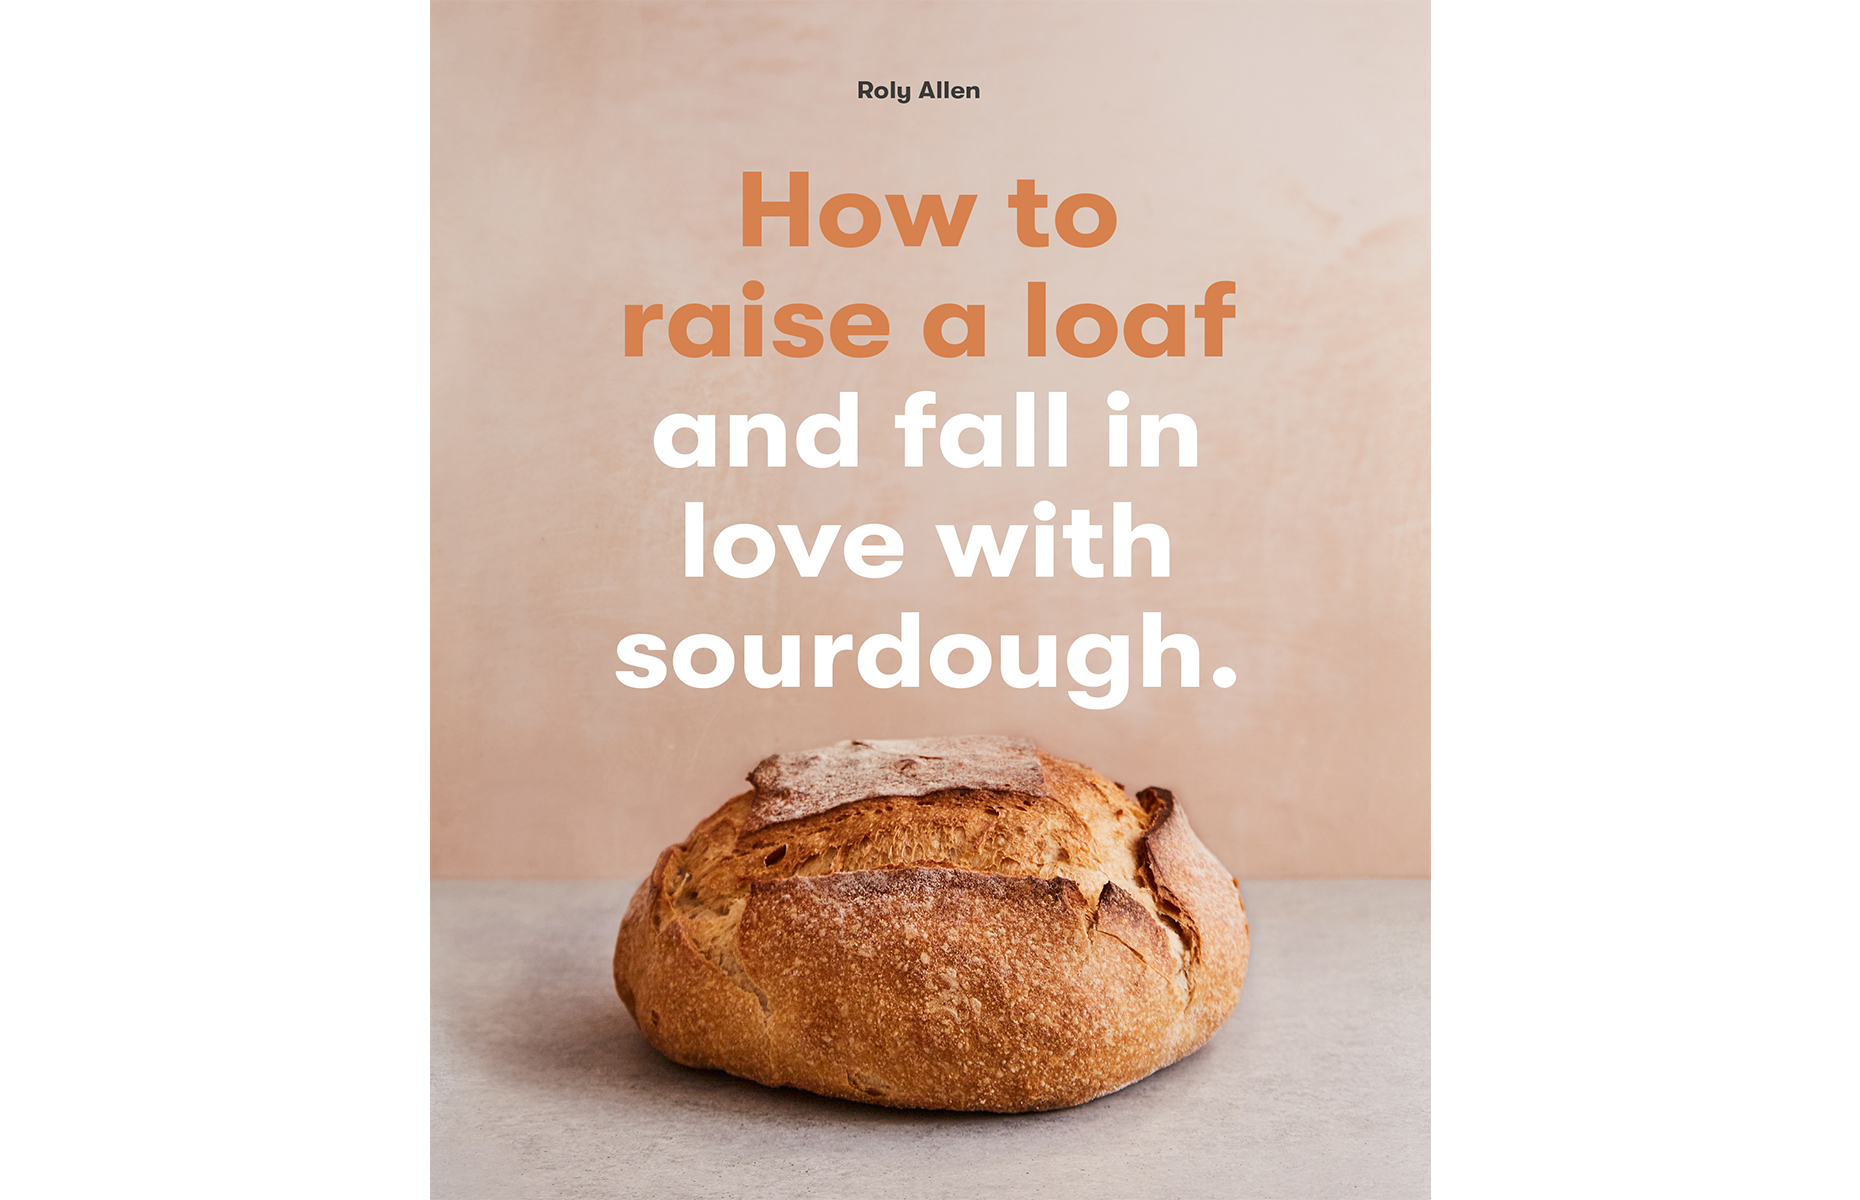
This recipe is from How to Raise a Loaf and Fall in Love with Sourdough by Roly Allen. Photography by Ida Riveros. Published by Laurence King, £12.99.
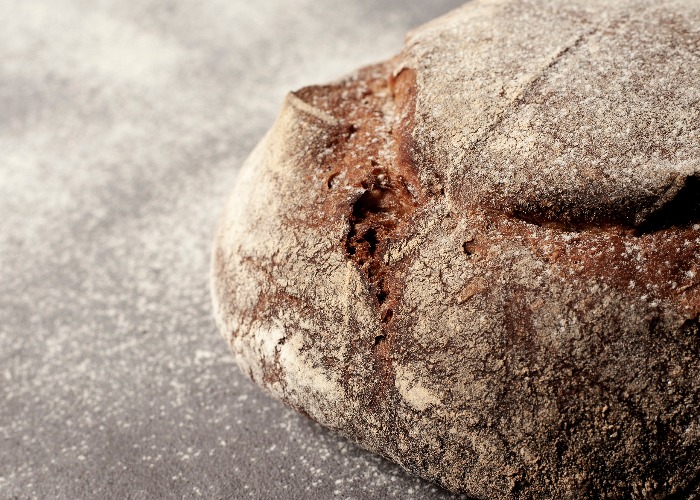
Main image: Tercer Ojo Photography/Shutterstock
You might also like:
Comments
Be the first to comment
Do you want to comment on this article? You need to be signed in for this feature