Is fermenting as easy as it sounds?

Fermentation might be one of the biggest food trends of the year, but is it easy to master at home? We put one of the most straightforward step-by-step kits to the test.
Fermentation is nothing new – humans have been using the technique since Neolithic times – but recently its popularity has soared.
Lacto-fermentation is an anaerobic process that happens when friendly bacteria (mainly the Lactobacillus species) convert sugar into lactic acid. The ‘lacto’ part refers not to lactose, but to the lactic acid – which preserves the food and adds that moreish sour umami flavour. Salt is vital as it prevents the growth of pathogenic microorganisms (bad bacteria) while pulling out water and nutrients to add flavour.
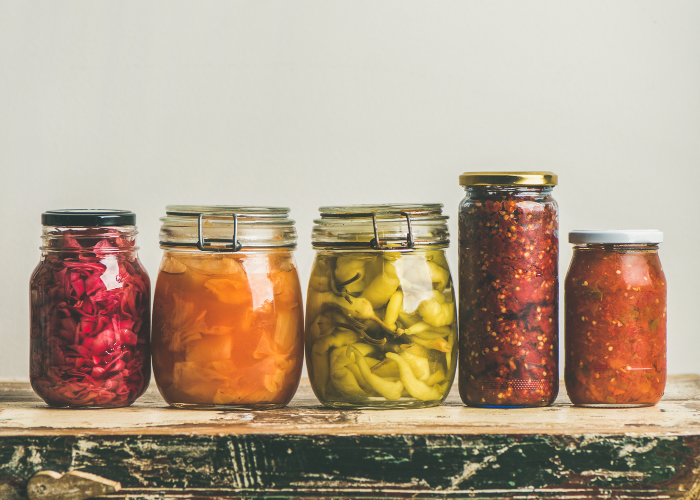
Science lesson aside – all you need for this thrifty method is salt, water, your vegetable of choice and a sturdy mason jar. Kimchi, sauerkraut, dill pickles: the possibilities of DIY fermenting are endless – as are the health benefits.
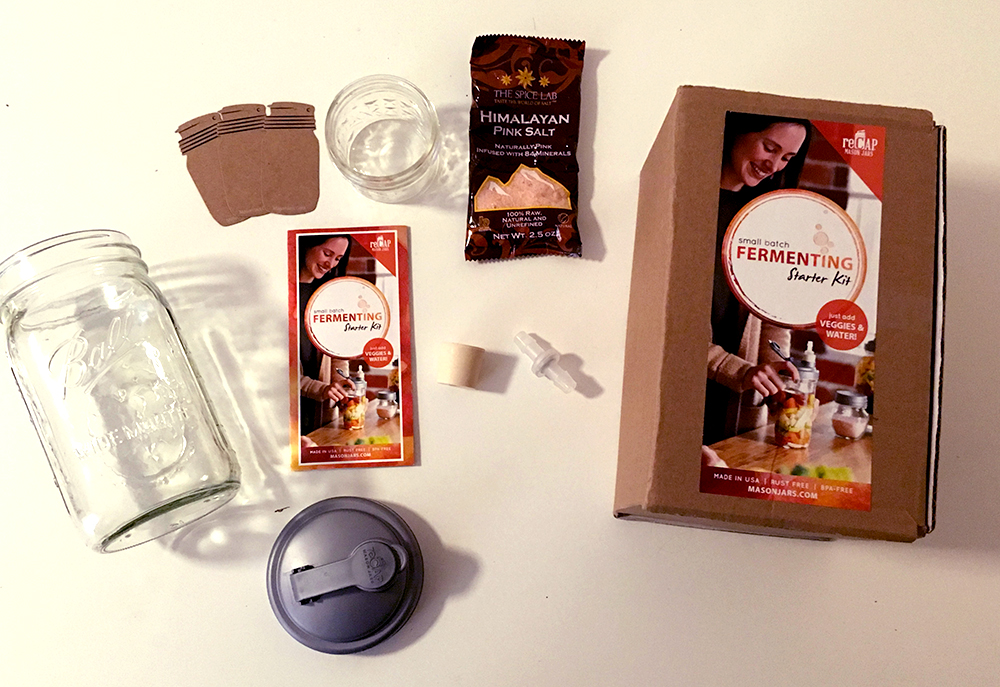
Home fermenting using a mason jar is easy enough, but requires regular “burping” to release the build-up of gases and avoid overflows or explosions. You can sidestep the babysitting by purchasing a kit with an airlocked lid, like the reCAP Small Batch Fermentation Kit (£24.99, 2tech.co.uk). A one-way valve allows carbon dioxide to escape and stops oxygen and impurities getting in, reducing the chance of mould growing.
The kit contains a large mason jar, plastic flip top, airlock bung, stopper, glass jar weight, a sizeable packet of Himalayan salt and labels. These are particularly handy because the longer the process goes on, the harder it becomes identify what is in the ferment. There are several recipes included too: ginger carrots, hot sauce and salsa.
Step 1: choose your ferment
With winter in full swing, we opted to capitalise on white cabbage season with a batch of sauerkraut. Fermenting chopped or shredded vegetables is quicker than larger or whole chunks, but both would work with the wide-mouthed jar.
Begin by washing all the equipment and vegetables – fermentation is essentially removing oxygen and allowing good bacteria to grow, so it’s important to begin with a ‘clean’ slate.
Sprinkle the finely sliced cabbage with salt and cumin seeds, before kneading and massaging for a good ten minutes. This creates a natural brine, although many other ferments call for the brine to be made separately and combined. Using more salt slows the fermentation process, while less salt gets a softer, speedier ferment.

Step 2: pack and leave
Pack the cabbage down tightly into the jar to get rid of air pockets – we used the beater attachment from a hand mixer, but a small potato masher or muddler would also work.
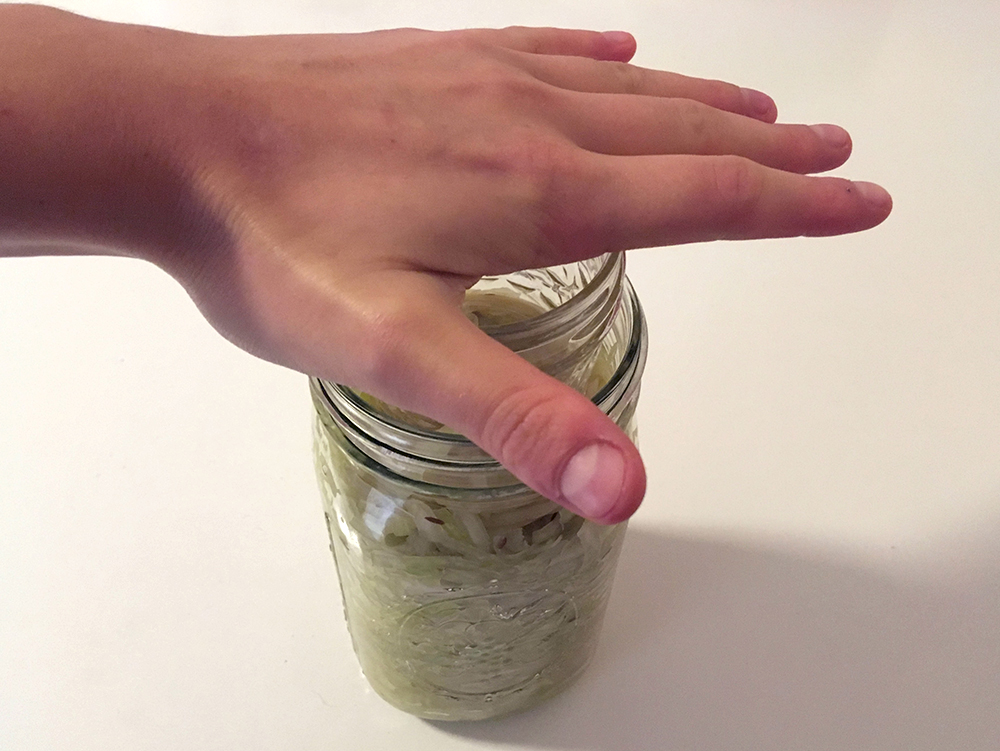
Place the jam jar provided on top to stop vegetables floating upwards and becoming exposed to air, which will cause mould to develop.
Screw the grey reCAP Pour top onto the jar and put the airlock with the stopper in the spout. This is the kit’s USP – it keeps the air out but allows natural fermenting gases to escape, saving you from messy daily checks.
Step 3: check and sniff
The joy is that the top can be neatly screwed off in one movement to check on progress – which is highly recommended. Don’t be afraid to have a sniff and take a bite to test the flavour, as you would do during cooking.
Temperature plays a role: 18–22°C is the ideal temperature, which will be found in most households. Hotter weather will shorten the fermenting process. A slimy texture, pinky tinge, browned or parched vegetables are signs something is going awry, but any white scum on its surface is harmless and should simply be skimmed off with a clean spoon.
Once you’re happy with the taste, take the stopper and airlock off, flip the pour lid down and put the jar in the fridge. Our sauerkraut took two weeks but it depends on your palate and the vegetable. Once the reCAP jar is sealed and in the fridge, its contents will last several months.

The verdict
This nifty, straightforward kit is perfect for tentative fermenters, experimental cooks and anyone with a penchant for that addictive pickled flavour.
In comparison with the usual jar and burping method, the reCAP kit is a dream. The bung-mounted airlock allows you to do the fun bit and leave the culture to work its magic. Our sauerkraut turned out more flavourful (and less messy) than a batch made with the traditional jar method, so the proof, it seems, is in the pudding.
Another plus is that the lid fits with many mainstream Mason jar brands (Mason, Kilner, Quattro Stagioni) so you can bulk buy and swap back to the normal lid once the ferment is ready to be refrigerated – ideal if you’re planning back-to-back batches. It's also dishwasher-safe, so can be reused as many times needed, while kitchen clutter-phobes will relish its lack of parts.

All pictures in this piece by the author. Header image Shutterstock/Foxys Forest Manufacture.
Now get cooking:
Pork loin with Bramley apple sauerkraut
Heston Blumenthal's hot dogs with sauerkraut
Tom Kerridge’s toasted ale pulled pork sandwich with sauerkraut
Comments
Be the first to comment
Do you want to comment on this article? You need to be signed in for this feature